29. Using the API
A REST API is provided to be used as an alternate mechanism for remotely controlling a FreeNAS® system.
REST provides an easy-to-read, HTTP implementation of functions, known as resources, which are available beneath a specified base URL. Each resource is manipulated using the HTTP methods defined in RFC 2616, such as GET, PUT, POST, or DELETE.
As shown in Figure 29.1, an online version of the API is available at api.freenas.org.
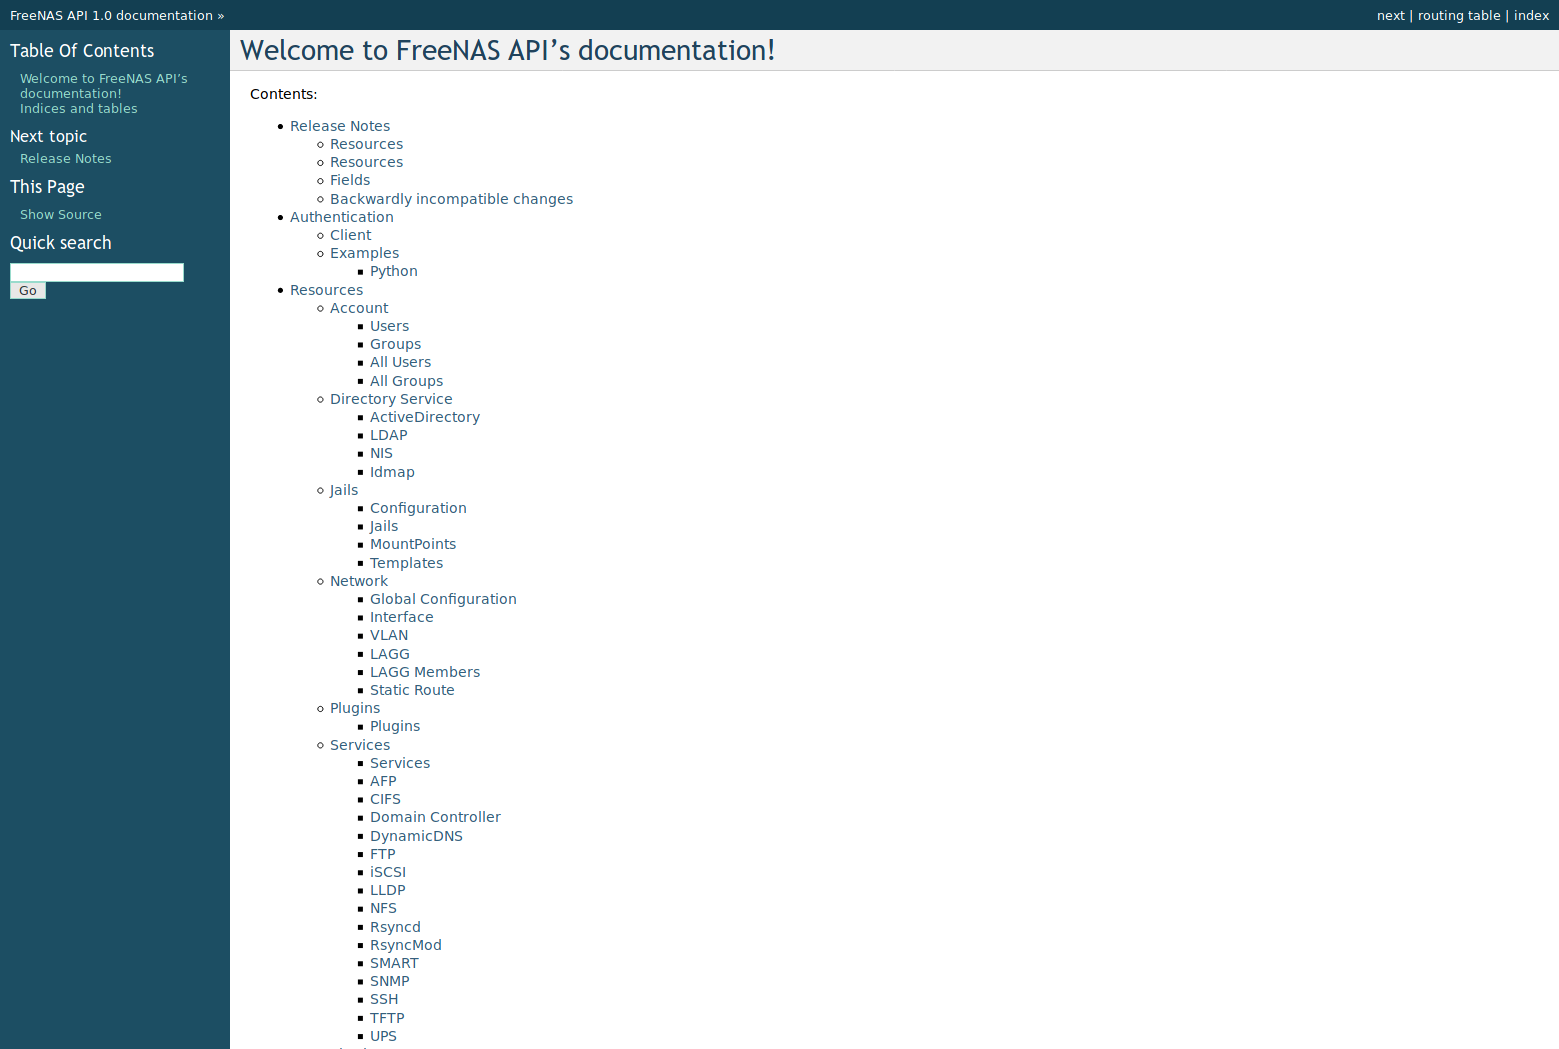
Fig. 29.1 API Documentation
The rest of this section shows code examples to illustrate the use of the API.
Note
A new API was released with FreeNAS® 11.1. The previous API is still present and in use because it is feature-complete. Documentation for the new API is available on the FreeNAS® system at the /api/docs/ URL. For example, if the FreeNAS® system is at IP address 192.168.1.119, enter http://192.168.1.119/api/docs/ in a browser to see the API documentation. Work is under way to make the new API feature-complete. The new APIv2 uses WebSockets. This advanced technology makes it possible to open interactive communication sessions between web browsers and servers, allowing event-driven responses without the need to poll the server for a reply. When APIv2 is feature-complete, the FreeNAS® documentation will include relevant examples that make use of the new API.
29.1. A Simple API Example
The API directory of the FreeNAS® GitHub repository
contains some API usage examples. This section provides a walk-through
of the newuser.py script, shown below, as it provides a simple
example that creates a user.
A FreeNAS® system running at least version 9.2.0 is required when creating a customized script based on this example. To test the scripts directly on the FreeNAS® system, create a user account and select an existing pool or dataset for the user Home Directory. After creating the user, start the SSH service in . That user will now be able to ssh to the IP address of the FreeNAS® system to create and run scripts. Alternately, scripts can be tested on any system with the required software installed as shown in the previous section.
To customize this script, copy the contents of this example into a
filename that ends in .py. The text that is highlighted in red
below can be modified in the new version to match the needs of
the user being created. Do not change the text in black.
After saving changes, run the script by typing
python scriptname.py. The new user account will appear in
in the FreeNAS® web interface.
Here is the example script with an explanation of the line numbers below it.
1 2 3 4 5 6 7 8 9 10 11 12 13 14 15 16 17 18 19 | import json
import requests
r = requests.post(
'https://freenas.mydomain/api/v1.0/account/users/',
auth=('root', 'freenas'),
headers={'Content-Type': 'application/json'},
verify=False,
data=json.dumps({
'bsdusr_uid': '1100',
'bsdusr_username': 'myuser',
'bsdusr_mode': '755',
'bsdusr_creategroup': 'True',
'bsdusr_password': '12345',
'bsdusr_shell': '/usr/local/bin/bash',
'bsdusr_full_name': 'Full Name',
'bsdusr_email': 'name@provider.com',
})
)
print r.text
|
Where:
Lines 1-2: import the Python modules used to make HTTP requests and handle data in JSON format.
Line 4: replace freenas.mydomain with the Hostname value in . Note that the script will fail if the machine running it is unable to resolve that hostname. Go to and set the Protocol to HTTP.
Line 5: replace freenas with the password used to access the FreeNAS® system.
Line 7: to force validation of the SSL certificate while using HTTPS, change False to True.
Lines 8-16: set the values for the user being created. The Users resource describes this in more detail. Allowed parameters are listed in the JSON Parameters section of that resource. Since this resource creates a FreeBSD user, the values entered must be valid for a FreeBSD user account. Table 29.1.1 summarizes acceptable values. This resource uses JSON, so the boolean values are True or False.
| JSON Parameter | Type | Description |
|---|---|---|
| bsdusr_username | string | Maximum 32 characters, though a maximum of 8 is recommended for interoperability. Can include numerals but cannot include a space. |
| bsdusr_full_name | string | May contain spaces and uppercase characters. |
| bsdusr_password | string | Can include a mix of upper and lowercase letters, characters, and numbers. |
| bsdusr_uid | integer | By convention, user accounts have an ID greater than 1000 with a maximum allowable value of 65,535. |
| bsdusr_group | integer | If bsdusr_creategroup is set to False, specify the numeric ID of the group to create. |
| bsdusr_creategroup | boolean | Set True to automatically create a primary group with the same numeric ID as bsdusr_uid. |
| bsdusr_mode | string | Sets default numeric UNIX permissions of a user home directory. |
| bsdusr_shell | string | Specify the full path to a UNIX shell that is installed on the system. |
| bsdusr_password_disabled | boolean | Set to True to disable user login. |
| bsdusr_locked | boolean | Set to True to disable user login. |
| bsdusr_sudo | boolean | Set to True to enable sudo for the user. |
| bsdusr_sshpubkey | string | Contents of SSH authorized keys file. |
Note
When using boolean values, JSON returns raw lowercase values but Python uses uppercase values. So use True or False in Python scripts even though the example JSON responses in the API documentation are displayed as true or false.
29.2. A More Complex Example
This section provides a walk-through of a more complex example found
in the startup.py script. Use the search bar within the API
documentation to quickly locate the JSON parameters used here. This
example defines a class and several methods to create a ZFS pool,
create a ZFS dataset, share the dataset over CIFS, and enable the CIFS
service. Responses from some methods are used as parameters in other
methods. In addition to the import lines seen in the previous
example, two Python modules are imported to provide parsing
functions for command line arguments:
import argparse
import sys
It then creates a Startup class which is started with the hostname, username, and password provided by the user through the command line:
1 2 3 4 5 6 7 8 9 10 11 12 13 14 15 16 17 18 19 20 21 22 | class Startup(object):
def __init__(self, hostname, user, secret):
self._hostname = hostname
self._user = user
self._secret = secret
self._ep = 'http://%s/api/v1.0' % hostname
def request(self, resource, method='GET', data=None):
if data is None:
data = ''
r = requests.request(
method,
'%s/%s/' % (self._ep, resource),
data=json.dumps(data),
headers={'Content-Type': "application/json"},
auth=(self._user, self._secret),
)
if r.ok:
try:
return r.json()
except:
return r.text
raise ValueError(r)
|
A get_disks method is defined to get all the disks in the system as a disk_name response. The create_pool method uses this information to create a ZFS pool named tank which is created as a stripe. The volume_name and layout JSON parameters are described in the Storage Volume resource of the API documentation.:
1 2 3 4 5 6 7 8 9 10 11 12 | def _get_disks(self):
disks = self.request('storage/disk')
return [disk['disk_name'] for disk in disks]
def create_pool(self):
disks = self._get_disks()
self.request('storage/volume', method='POST', data={
'volume_name': 'tank',
'layout': [
{'vdevtype': 'stripe', 'disks': disks},
],
})
|
The create_dataset method is defined which creates a dataset named
MyShare:
1 2 3 4 | def create_dataset(self):
self.request('storage/volume/tank/datasets', method='POST', data={
'name': 'MyShare',
})
|
The create_cifs_share method is used to share
/mnt/tank/MyShare with guest-only access enabled. The
cifs_name, cifs_path, cifs_guestonly JSON parameters, as well as
the other allowable parameters, are described in the Sharing CIFS
resource of the API documentation.:
1 2 3 4 5 6 | def create_cifs_share(self):
self.request('sharing/cifs', method='POST', data={
'cifs_name': 'My Test Share',
'cifs_path': '/mnt/tank/MyShare',
'cifs_guestonly': True
})
|
Finally, the service_start method enables the CIFS service. The srv_enable JSON parameter is described in the Services resource.
1 2 3 4 5 | def service_start(self, name):
self.request('services/services/%s' % name, method='PUT', data={
'srv_enable': True,
})
|