18. Shell
Beginning with version 8.2.0, the FreeNAS® GUI provides a web shell, making it convenient to run command line tools from the web browser as the root user. The link to Shell is the fourth entry from the bottom of the menu tree. In Figure 18.1, the link has been clicked and Shell is open.
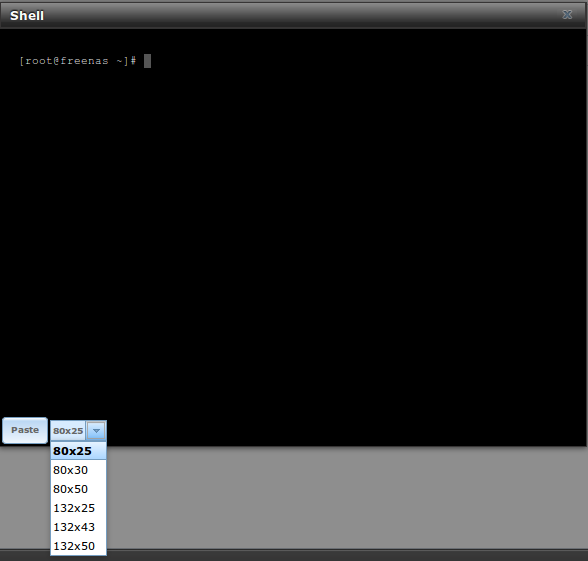
Fig. 18.1 Web Shell
The prompt indicates that the current user is root, the hostname is
freenas, and the current working directory is ~
(root’s home directory).
Note
The default shell for a new install of FreeNAS® is zsh. FreeNAS® systems that are upgraded from an earlier version will continue to use csh as the default shell. The default shell can be changed by going to . Select the desired user and click Modify User. Choose the desired shell from the Shell drop-down.
To change the size of the shell, click the 80x25 drop-down menu and select a different size.
To copy text from shell, highlight the text, right-click, and select Copy from the right-click menu. To paste into the shell, click the Paste button, paste the text into the box that opens, and click the OK button to complete the paste operation.
Shell provides a history of commands used. Use the arrow keys to see
previously entered commands and press Enter to repeat the
command. The keys Home, End, and Delete are also
supported in the shell. The shell also provides tab completion. Type a
few letters and press tab to complete a command name or filename in the
current directory. Type exit to leave the session.
Using the shell prevents access to any of the other GUI menus. To have access to a prompt while using the GUI menus, use tmux instead as it supports multiple shell sessions and the detachment and reattachment of sessions.
Note
Not all of Shell’s features render correctly in Chrome. Firefox is the recommended browser for using Shell.
Most FreeBSD command line utilities are available in the Shell. Additional troubleshooting utilities that are provided by FreeNAS® are described in Command Line Utilities.