ryanallan
Dabbler
- Joined
- May 13, 2014
- Messages
- 25
This HTPC/server project became a necessity a couple months ago when my existing home server started showing signs of wear. The old server had become too slow and too limited in capacity. The plan was to build new and combine my existing HTPC into the same enclosure. Where to go, where to go? Oh I know, LEGO!
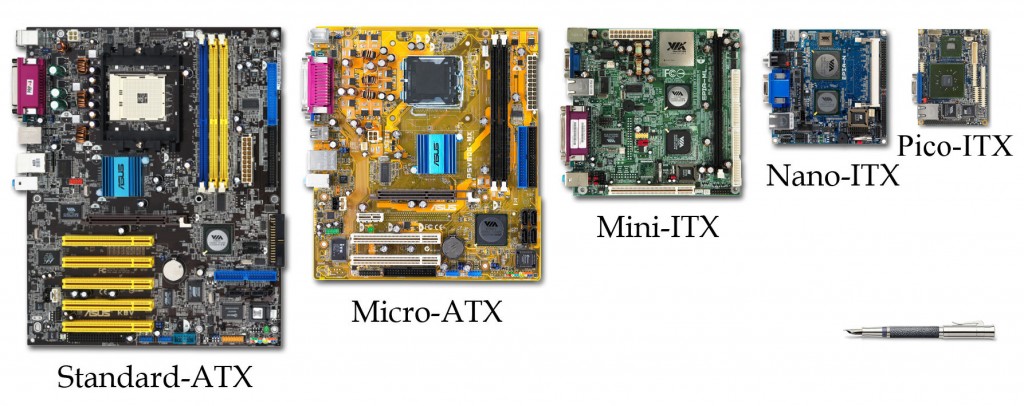
The project had two goals. The first, obviously, was to look cool. The second was to have enough room for both the new server as well as my existing HTPC. Both PC’s would be mini ITX sized (17cm x 17cm) and my entertainment bench cubbyhole (where the server would end up sitting) was 18cm high. Perfect, I thought; the motherboards could be positioned vertically to fit within the space.
The concept for the server/HTPC enclosure was an 18cm square box that would contain all the parts. This included two mini ITX motherboards, their respective drives, their power supplies, and a cooling fan. A tall order to fit inside an 18cm cube.
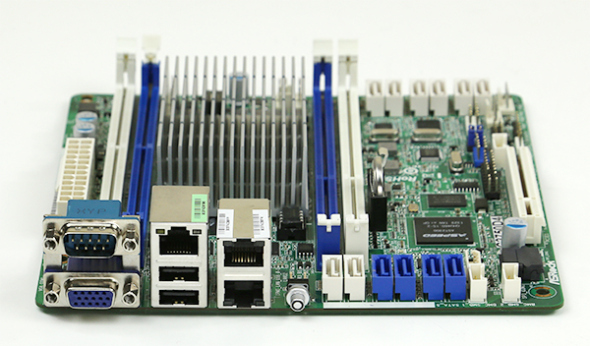
The server would have an ASRock c2550d4i motherboard powered by an Intel Avoton C2550 Quad-Core processor, with 16GB of memory and three 4TB WD Red HDD’s. I chose the processor because of its high-powered performance and its low power consumption: only 14 watts under full load.
In terms of software, the server would run the FreeNAS OS and the HDD’s would be configured in a ZFS array. Three drives would be run in a ZFS-1 array, and a stretch goal of four drives (space permitting) would allow a ZFS-2 array. The ZFS-2 configuration provides double redundancy or failure protection for two HDD’s, where the ZFS-1 would only provide protection for one HDD. Let’s see how much space we have and decide on the configuration later.
The HTPC would be a carryover from my previous XBMC project.
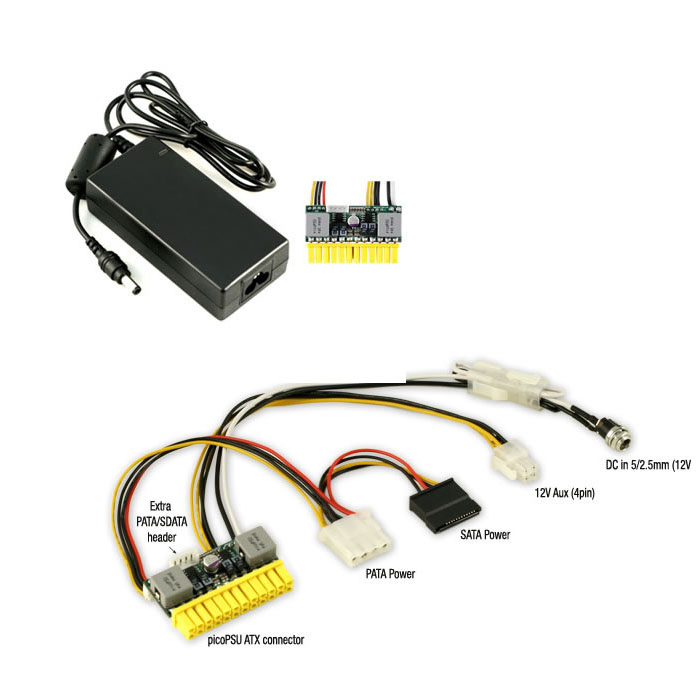
The power supplies would be PicoPSU, which were the slimmest-profile bricks I could find. While the PicoPSU is a standard brick power supply that has an ITX-style power harness, it didn’t come any bigger than 160W. By my calculations, the server would consume no more than 140W under full load and the HTPC would consumer no more than 70-80W under full load, so I crossed my fingers and hoped for the best.
Building the Enclosure:
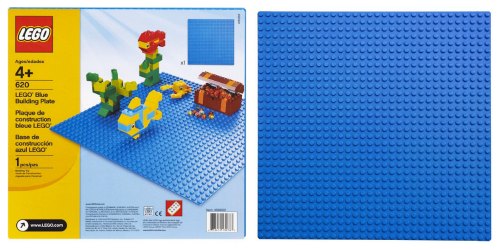
Once I knew my hardware specs, it was time to design my enclosure with Lego. I chose a 25cm x 25cm LEGO base-plate for the foundation of my structure.
The first Lego configuration had the four drives stacked on top of each other (left in photo) and the motherboards standing on their side (right in photo). The remaining space (at front of photo) was reserved for the two power supplies and cables.
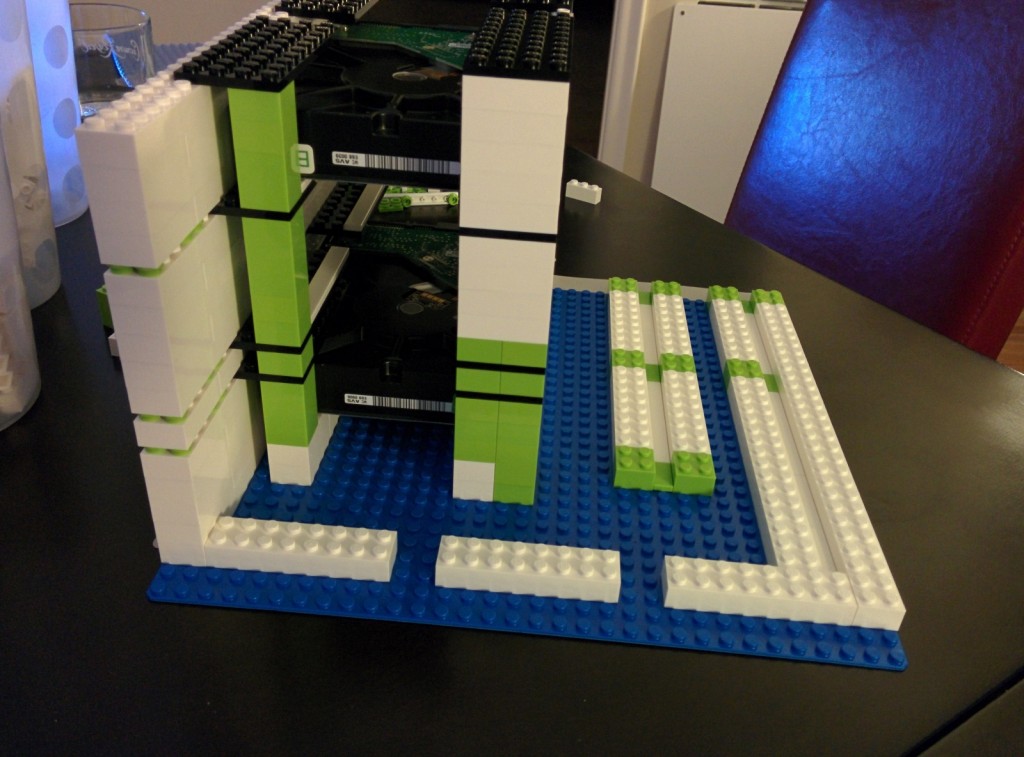
This concept was abandoned early on as the tower structure for the drives had no stability and could not handle the weight of three HDD’s and one SSD.
The second iteration of the enclosure saw the drives arranged vertically (right of photo), the motherboards standing on their sides (left of photo), and the power supplies stacked in the remaining space (back of photo).
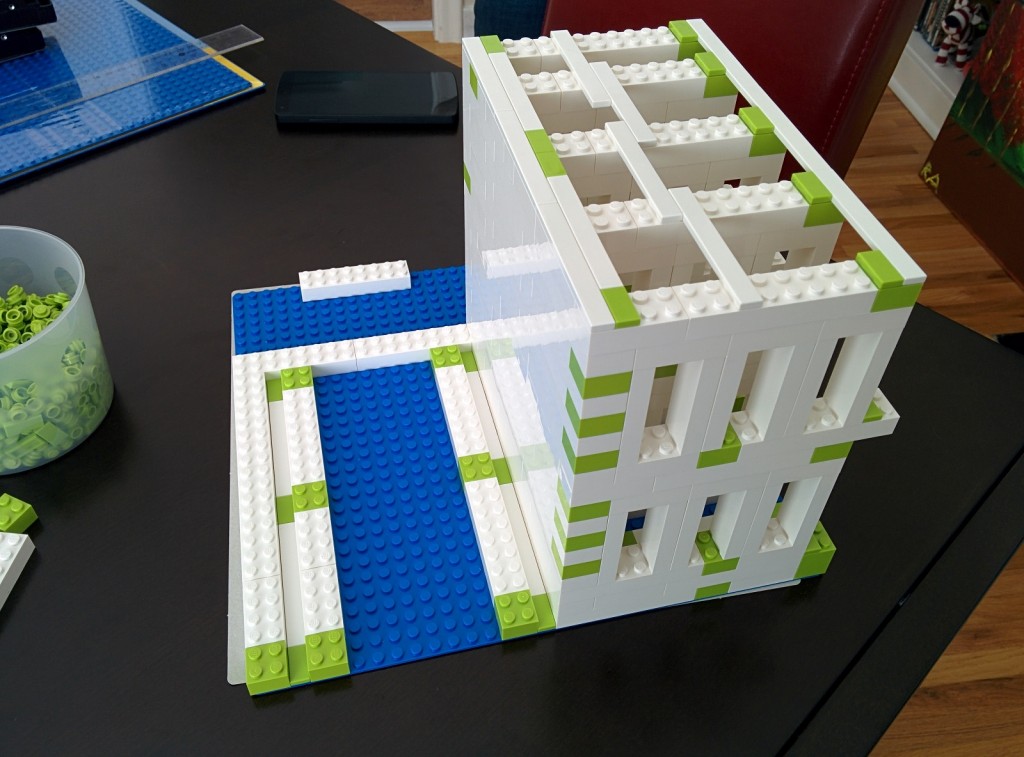
At this point, I made a decision to add another HDD to the server so that I would have at total of four 4TB HDDs. Since space within the enclosure was at a premium, I decided to mount the power supplies externally to make room.
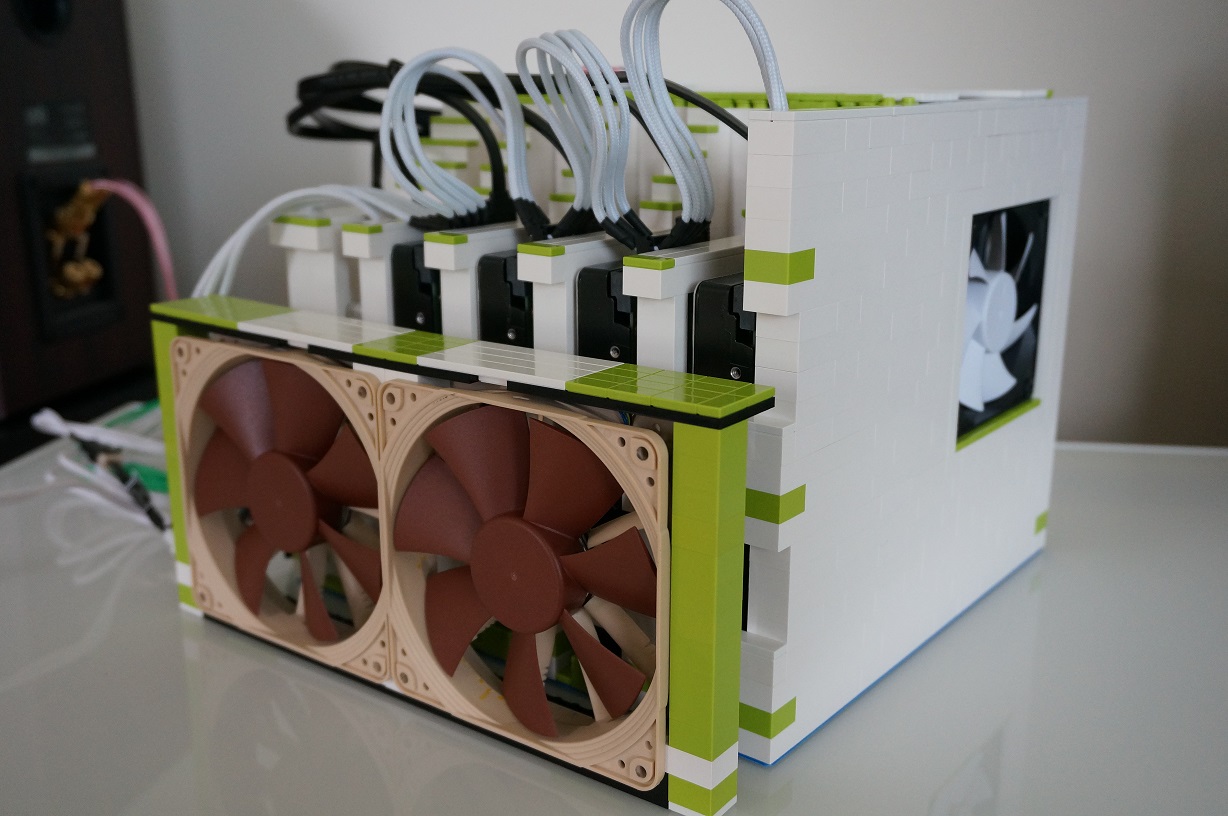
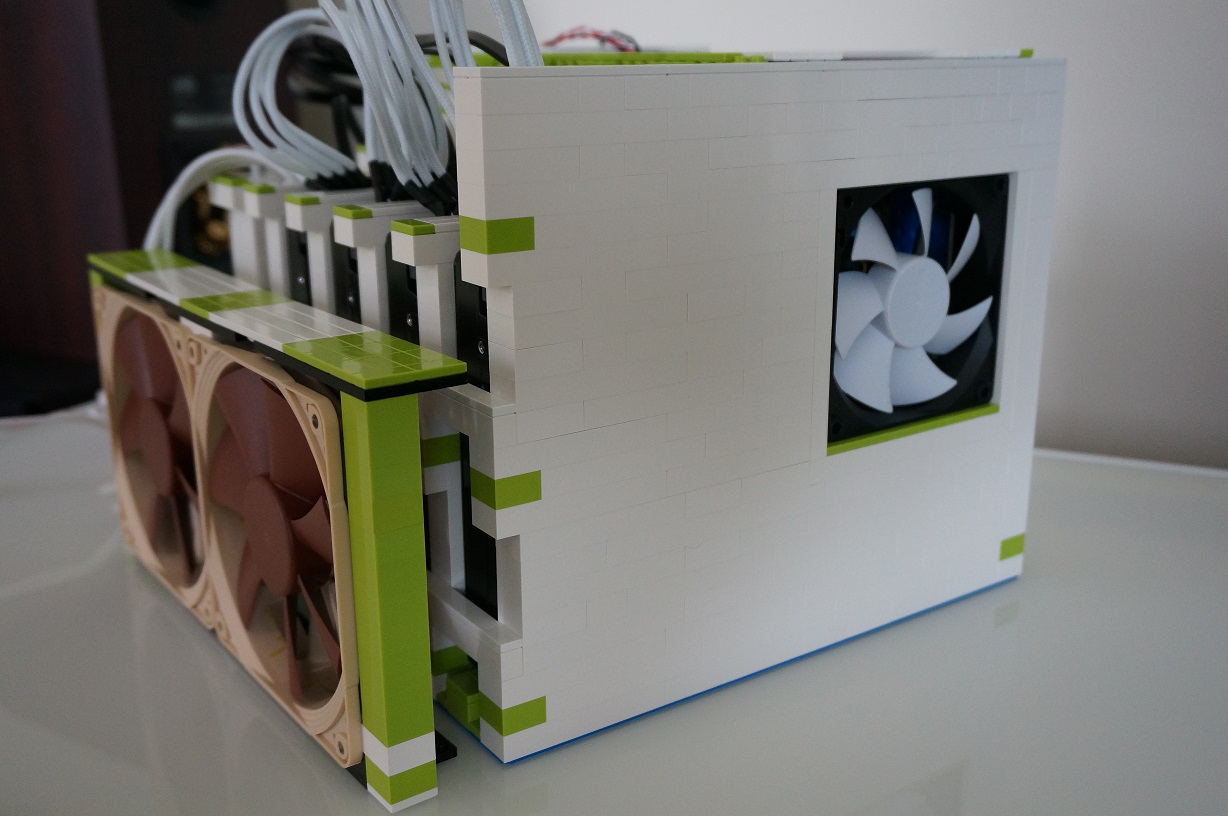
The final concept for the enclosure had a similar configuration as before, with the drives aligned vertically on half of my platform and the motherboards perpendicular to the drives. This allowed me to have four HDD’s, one SSD, two motherboards AND a cooling fan built into the front wall of the case (back of photo).
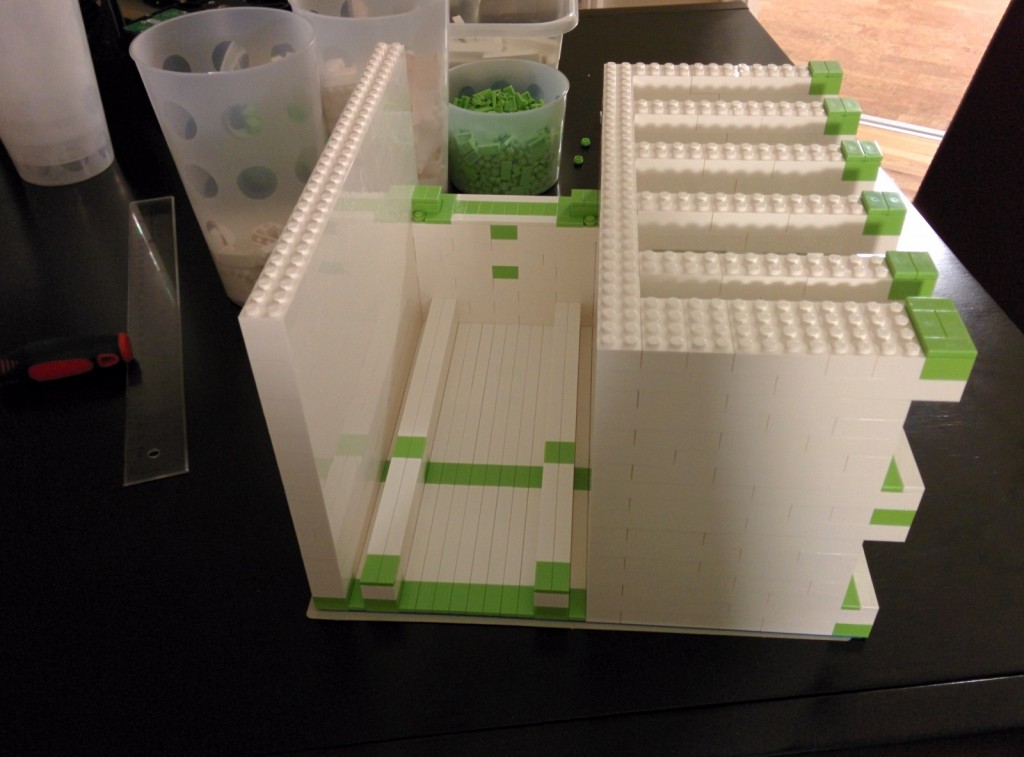
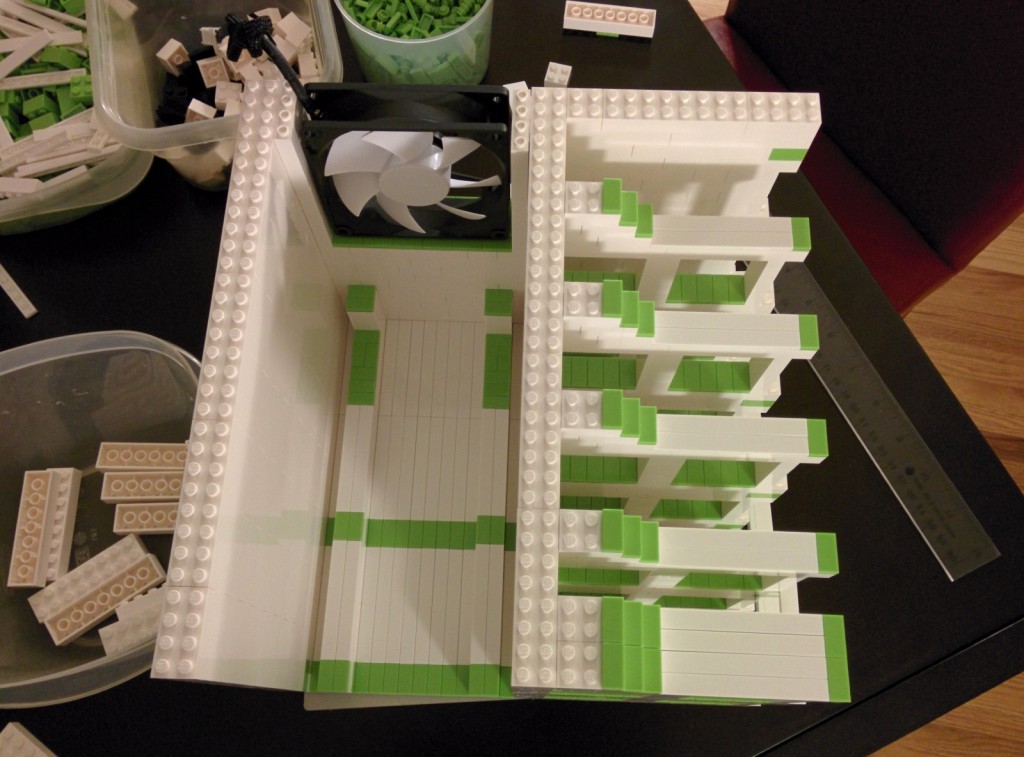
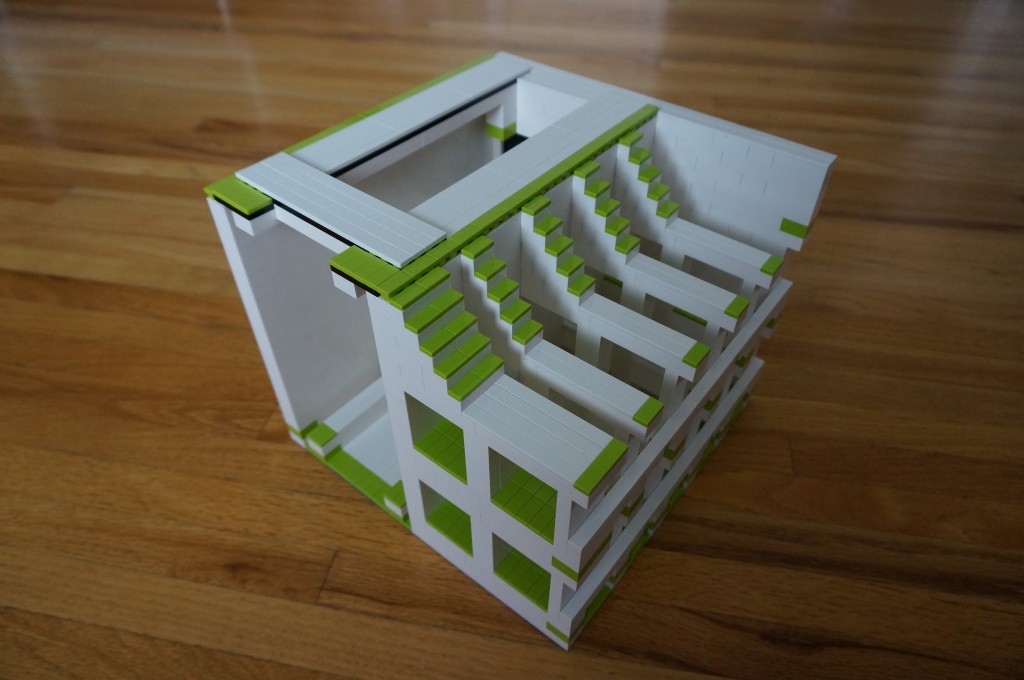
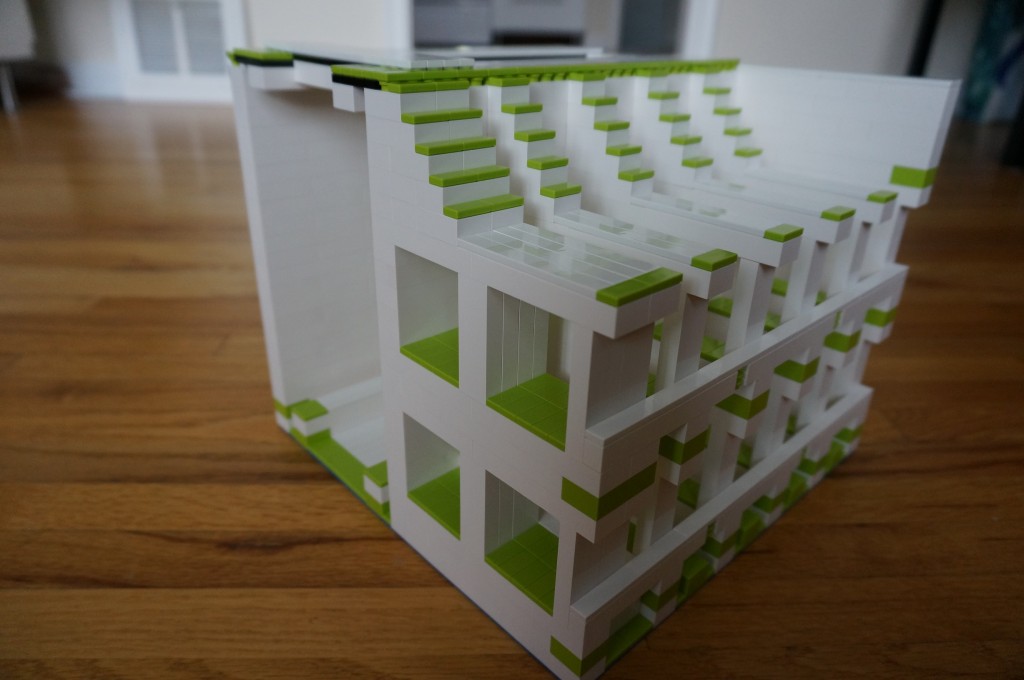
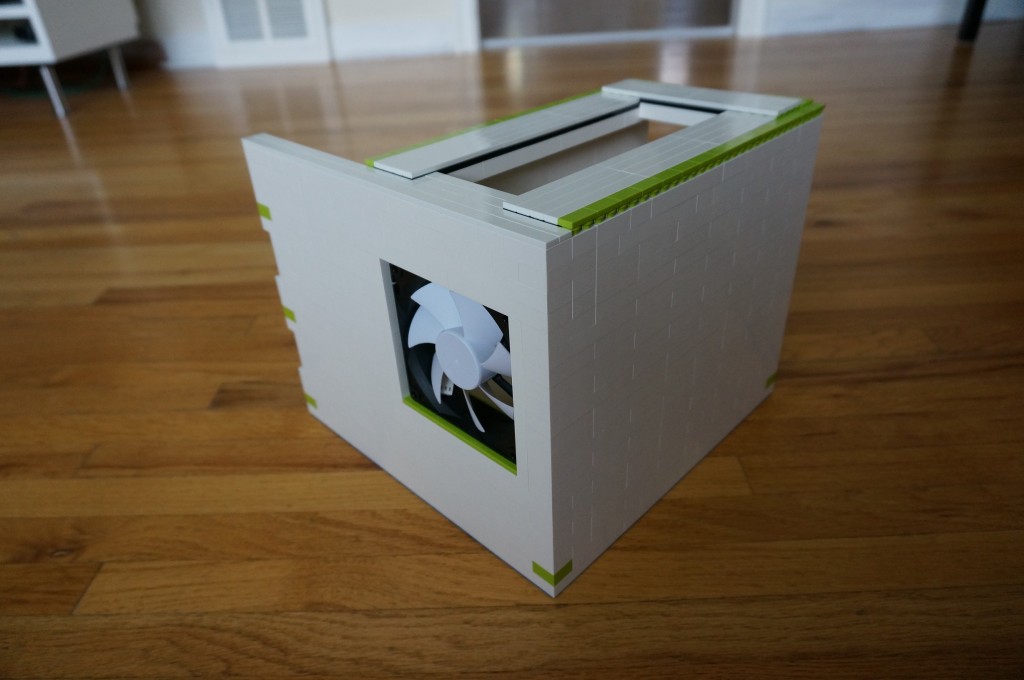
This concept was built up to this point where the parts could be test fitted. Not wanting to spend another evening ripping apart the previous night’s work, we made sure all the hardware would fit. And sure enough, it did!
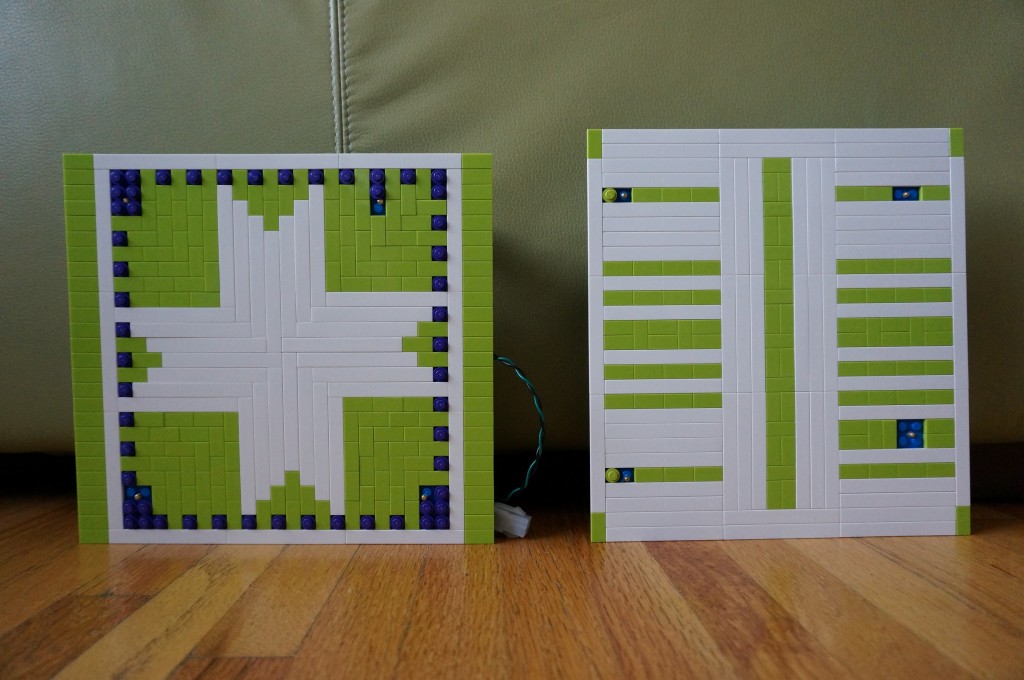
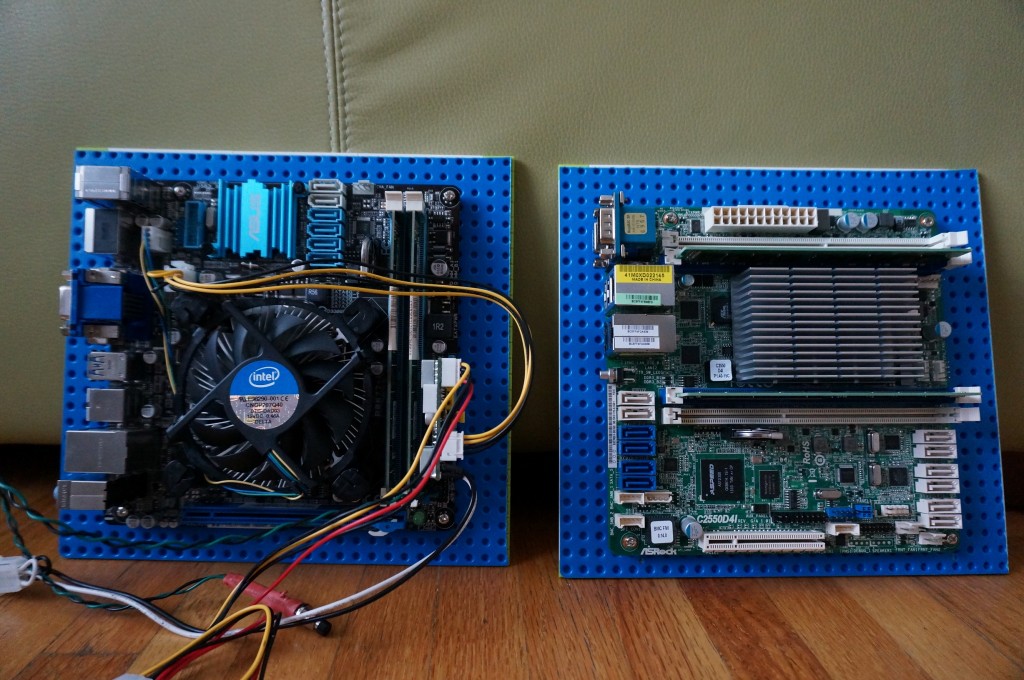
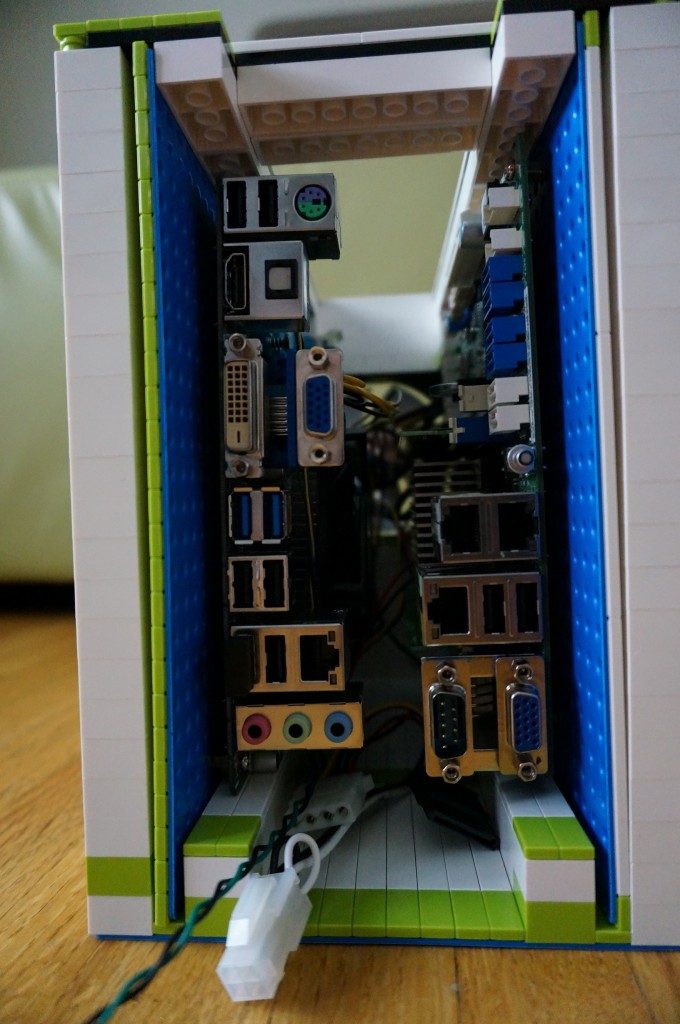
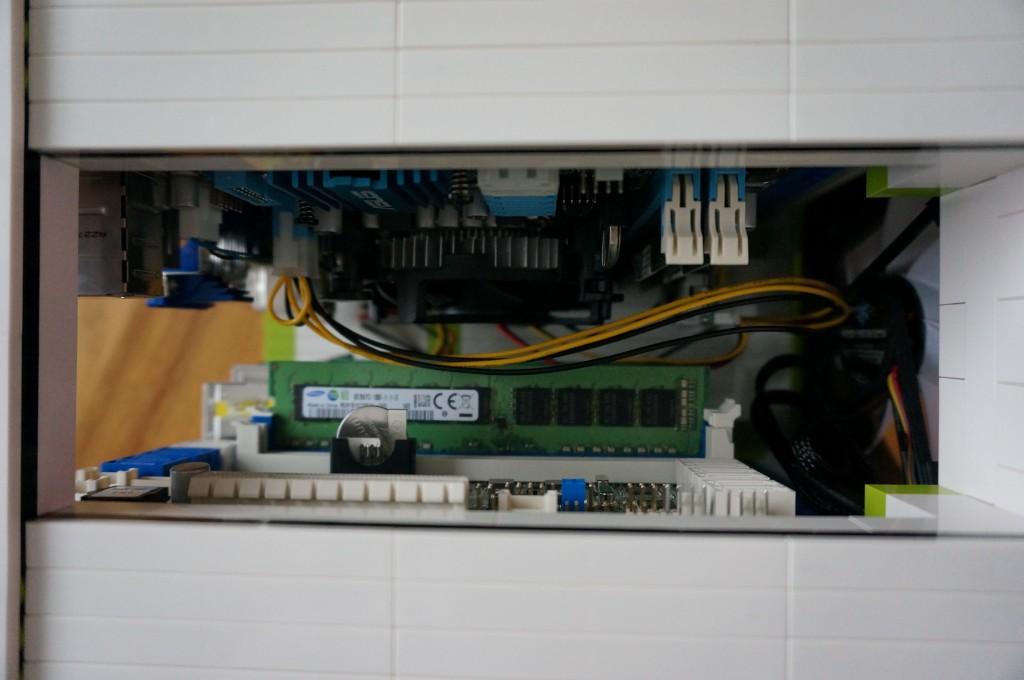
We needed to mount the motherboards to back-plates so that they could be mounted into the enclosure. As seen in the photo above, the mounted motherboards would slide into their respective grooves, and the space would be cooled by the fan mounted on the front. And as we had some spare LEGO, we dressed up the motherboard back-plates.
Next up was to mount the drives. Knowing that the HTPC’s SSD was smaller than the server’s HDD’s, we made its compartment smaller. It would be mounted in the first slot followed by the 4 HDD’s.
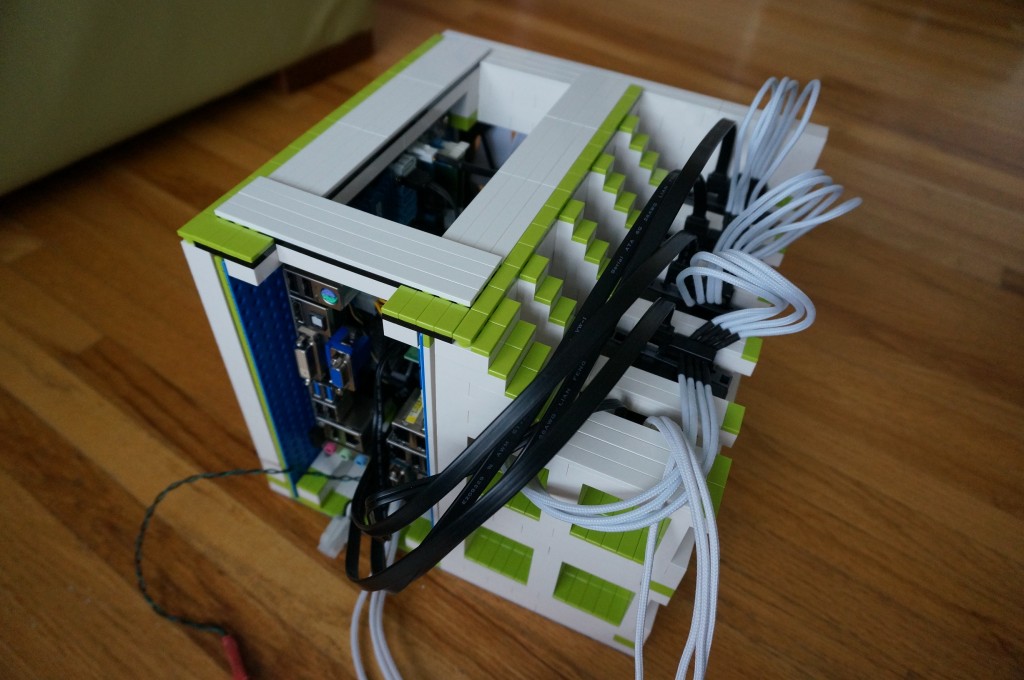
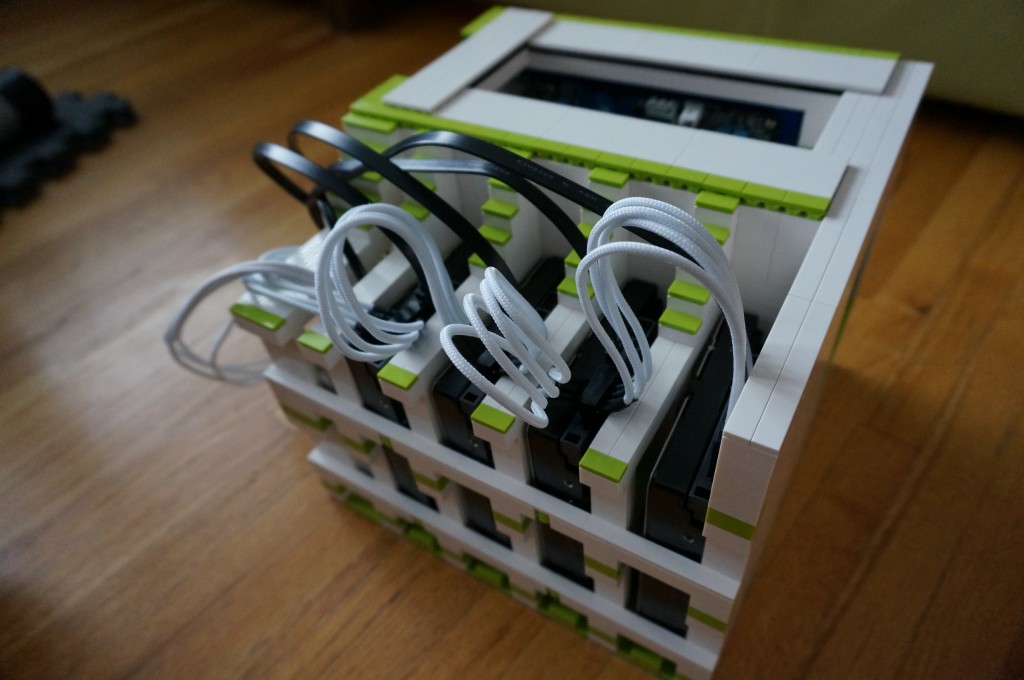
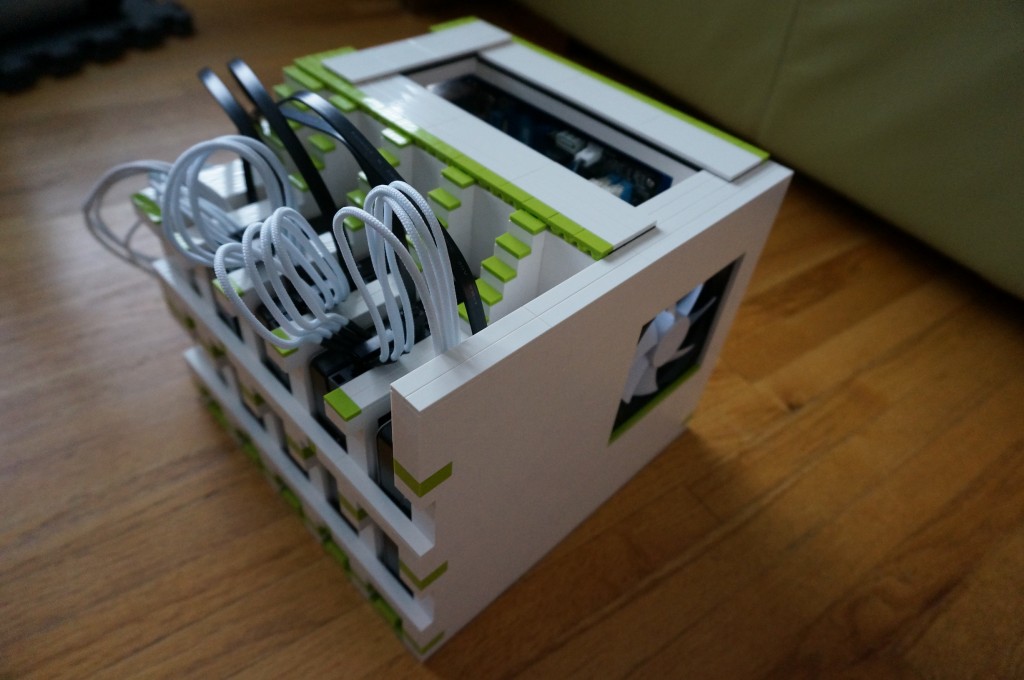
Here she is, all wired up and running:
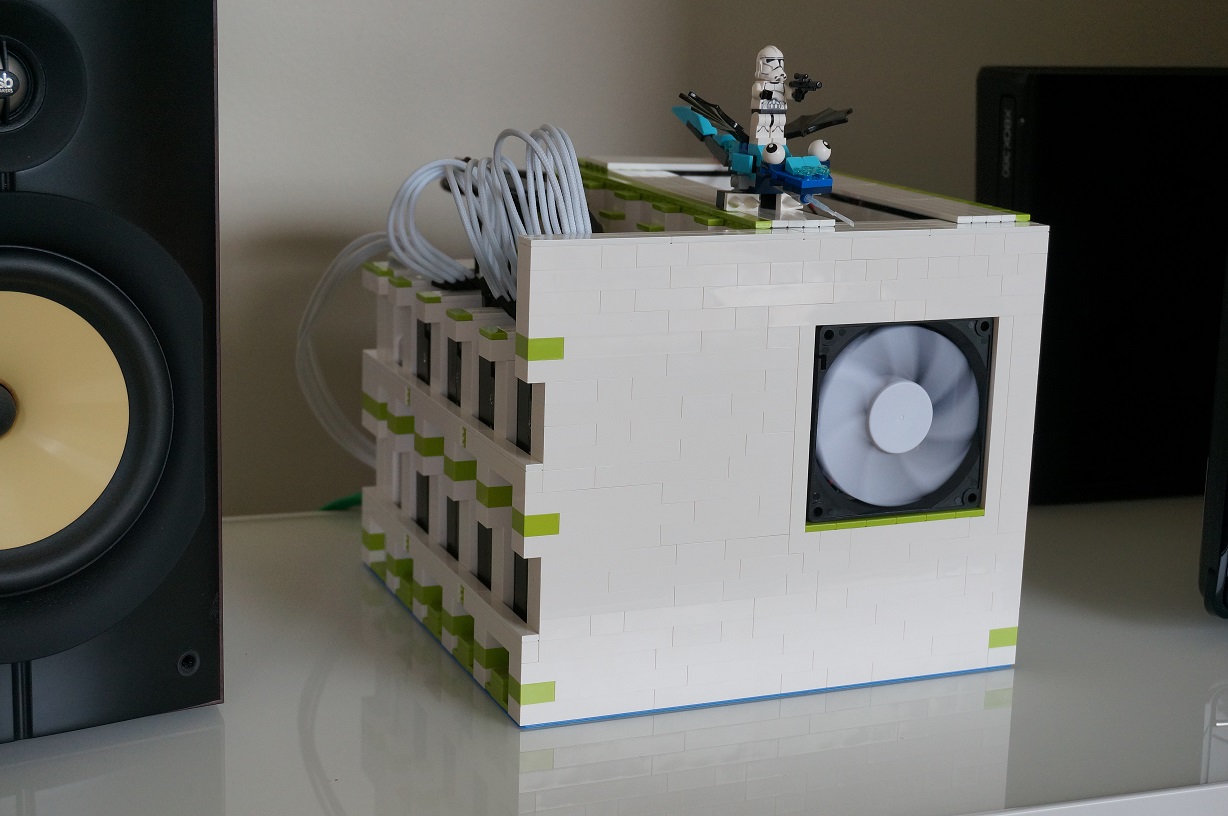
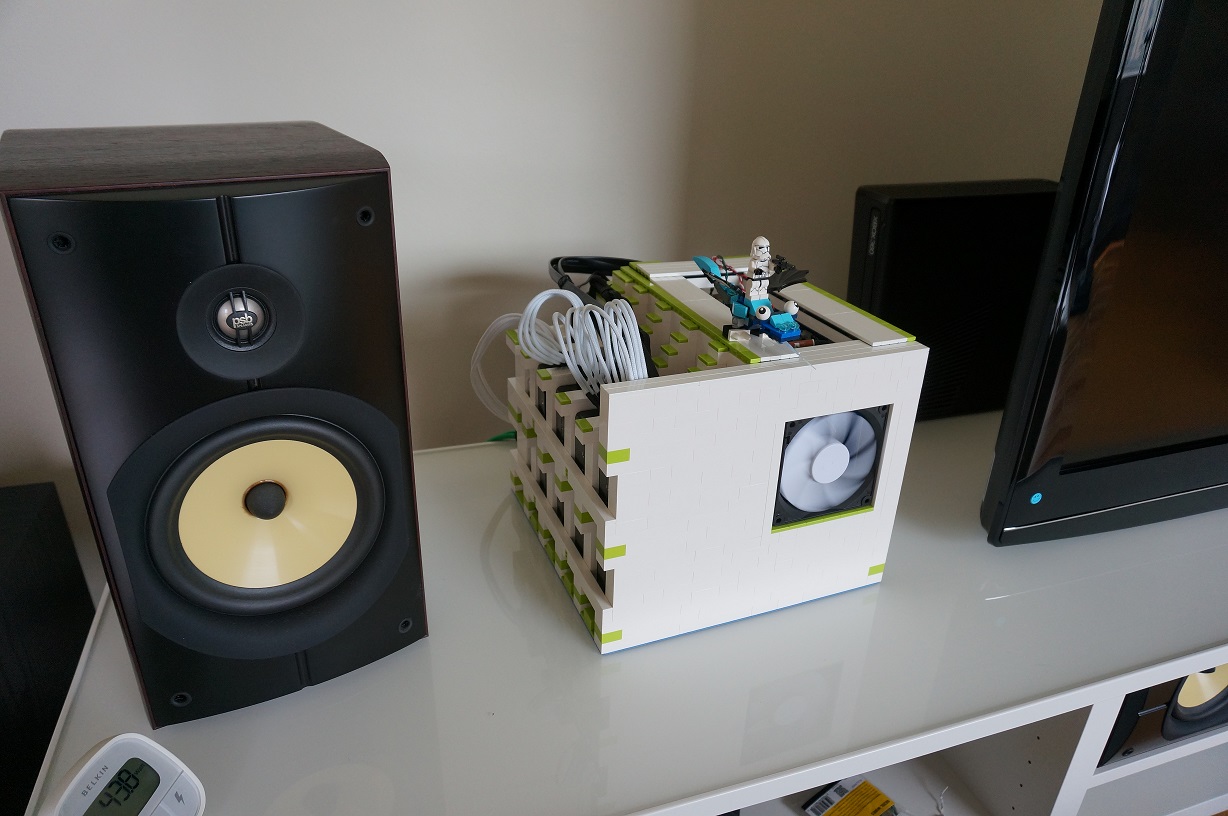
First Run Heat Issues:
The server was initially intended to run without any fans. The CPU is/was low power and comes with a fan-less heat-sink, and the HDD’s are pretty much out in the open. Perfect, I thought, lets get this show on the road. Upon first power up it was apparent this was going to be an issue. The CPU slowly started to rise up to its 80C alarm limit, and the HDD’s quickly shot up to 47C. Ideally, the CPU should be in the mid 30′s and the HDD’s should be under 40C.
To fix the issue, the main fan was connected to the server’s motherboard. Straightforward right? nope… The motherboard is only setup to control 4-pin PWN fans, and thus blasts the fans with a constant +12V. The 3-pin fan shot right up to 3000 RPM. To lower the speed and noise, I installed a resistor inline with the fan’s power lead. This drooped the voltage to the fan to where it now sits at a nice quiet 1000 RPM. The CPU now runs around the 35C mark.
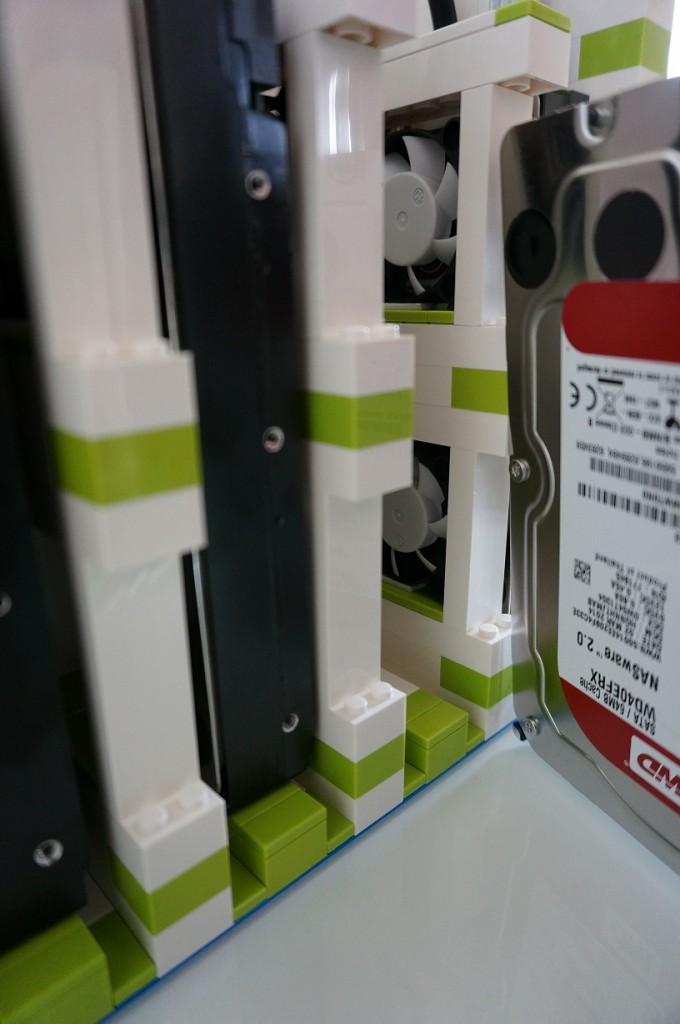
The HDD’s presented more of a challenge as the case was designed to be fan-less. I had some 40mm fan lying around, and again luckily for me, they were a perfect fit into the existing ventilation gaps. The fans were all connected to the server’s motherboard. Straightforward right? nope… The motherboard is only setup to control 4-pin PWN fans, and thus blasts the fans with a constant +12V. The 3-pin 3-pin fan shot right up to 4000 RPM. To lower the speed and noise, I connected the fans to the +5V rail off the power supply. They now run at a nice quiet 1000 RPM. The HDD’s now run around the 37C mark.
Google has published a really nice white paper on HDD failure analysis. The paper focuses on consumer grade HDD’s and operating conditions effecting their longevity. http://research.google.com/pubs/pub32774.html. This is where I’m getting my temperature target of under 40C from.
Total System Power Consumption:
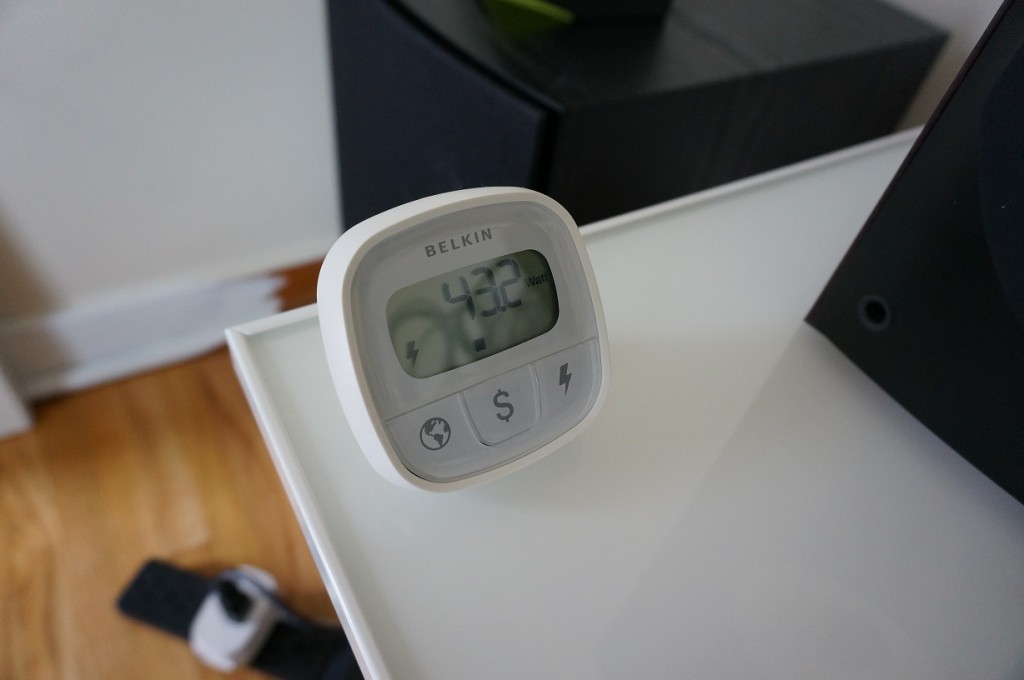
During boot, the system consumes around 80W. After settling down, the system draws a steady 43W. Documentation says the HDD’s consume about 15W each during boot, and 5W each once running. This leaves the CPU /motherboard/RAM at around 20W.
The project had two goals. The first, obviously, was to look cool. The second was to have enough room for both the new server as well as my existing HTPC. Both PC’s would be mini ITX sized (17cm x 17cm) and my entertainment bench cubbyhole (where the server would end up sitting) was 18cm high. Perfect, I thought; the motherboards could be positioned vertically to fit within the space.
The concept for the server/HTPC enclosure was an 18cm square box that would contain all the parts. This included two mini ITX motherboards, their respective drives, their power supplies, and a cooling fan. A tall order to fit inside an 18cm cube.
The server would have an ASRock c2550d4i motherboard powered by an Intel Avoton C2550 Quad-Core processor, with 16GB of memory and three 4TB WD Red HDD’s. I chose the processor because of its high-powered performance and its low power consumption: only 14 watts under full load.
In terms of software, the server would run the FreeNAS OS and the HDD’s would be configured in a ZFS array. Three drives would be run in a ZFS-1 array, and a stretch goal of four drives (space permitting) would allow a ZFS-2 array. The ZFS-2 configuration provides double redundancy or failure protection for two HDD’s, where the ZFS-1 would only provide protection for one HDD. Let’s see how much space we have and decide on the configuration later.
The HTPC would be a carryover from my previous XBMC project.
The power supplies would be PicoPSU, which were the slimmest-profile bricks I could find. While the PicoPSU is a standard brick power supply that has an ITX-style power harness, it didn’t come any bigger than 160W. By my calculations, the server would consume no more than 140W under full load and the HTPC would consumer no more than 70-80W under full load, so I crossed my fingers and hoped for the best.
Building the Enclosure:
Once I knew my hardware specs, it was time to design my enclosure with Lego. I chose a 25cm x 25cm LEGO base-plate for the foundation of my structure.

The first Lego configuration had the four drives stacked on top of each other (left in photo) and the motherboards standing on their side (right in photo). The remaining space (at front of photo) was reserved for the two power supplies and cables.

This concept was abandoned early on as the tower structure for the drives had no stability and could not handle the weight of three HDD’s and one SSD.
The second iteration of the enclosure saw the drives arranged vertically (right of photo), the motherboards standing on their sides (left of photo), and the power supplies stacked in the remaining space (back of photo).

At this point, I made a decision to add another HDD to the server so that I would have at total of four 4TB HDDs. Since space within the enclosure was at a premium, I decided to mount the power supplies externally to make room.
The final concept for the enclosure had a similar configuration as before, with the drives aligned vertically on half of my platform and the motherboards perpendicular to the drives. This allowed me to have four HDD’s, one SSD, two motherboards AND a cooling fan built into the front wall of the case (back of photo).


This concept was built up to this point where the parts could be test fitted. Not wanting to spend another evening ripping apart the previous night’s work, we made sure all the hardware would fit. And sure enough, it did!
We needed to mount the motherboards to back-plates so that they could be mounted into the enclosure. As seen in the photo above, the mounted motherboards would slide into their respective grooves, and the space would be cooled by the fan mounted on the front. And as we had some spare LEGO, we dressed up the motherboard back-plates.


Next up was to mount the drives. Knowing that the HTPC’s SSD was smaller than the server’s HDD’s, we made its compartment smaller. It would be mounted in the first slot followed by the 4 HDD’s.


Here she is, all wired up and running:


First Run Heat Issues:
The server was initially intended to run without any fans. The CPU is/was low power and comes with a fan-less heat-sink, and the HDD’s are pretty much out in the open. Perfect, I thought, lets get this show on the road. Upon first power up it was apparent this was going to be an issue. The CPU slowly started to rise up to its 80C alarm limit, and the HDD’s quickly shot up to 47C. Ideally, the CPU should be in the mid 30′s and the HDD’s should be under 40C.
To fix the issue, the main fan was connected to the server’s motherboard. Straightforward right? nope… The motherboard is only setup to control 4-pin PWN fans, and thus blasts the fans with a constant +12V. The 3-pin fan shot right up to 3000 RPM. To lower the speed and noise, I installed a resistor inline with the fan’s power lead. This drooped the voltage to the fan to where it now sits at a nice quiet 1000 RPM. The CPU now runs around the 35C mark.
The HDD’s presented more of a challenge as the case was designed to be fan-less. I had some 40mm fan lying around, and again luckily for me, they were a perfect fit into the existing ventilation gaps. The fans were all connected to the server’s motherboard. Straightforward right? nope… The motherboard is only setup to control 4-pin PWN fans, and thus blasts the fans with a constant +12V. The 3-pin 3-pin fan shot right up to 4000 RPM. To lower the speed and noise, I connected the fans to the +5V rail off the power supply. They now run at a nice quiet 1000 RPM. The HDD’s now run around the 37C mark.
Google has published a really nice white paper on HDD failure analysis. The paper focuses on consumer grade HDD’s and operating conditions effecting their longevity. http://research.google.com/pubs/pub32774.html. This is where I’m getting my temperature target of under 40C from.

Total System Power Consumption:
During boot, the system consumes around 80W. After settling down, the system draws a steady 43W. Documentation says the HDD’s consume about 15W each during boot, and 5W each once running. This leaves the CPU /motherboard/RAM at around 20W.


