17. Installation
TrueCommand™ is usually installed inside a virtual machine. It can also be installed on standalone hardware.
Download TrueCommand™ for free on the iXsystems website to get started.
17.1. System Requirements
The system requirements for TrueCommand™ are:
- x86 64-bit CPU
- at least 4 GiB or 4096 MiB of RAM
- at least 80 GiB of disk space
17.2. Virtualization
17.2.1. VirtualBox
VirtualBox is an open source virtualization program originally created by Sun Microsystems. VirtualBox runs on Windows, BSD, Linux, Macintosh, and OpenSolaris.
To install or run TrueCommand™ in VirtualBox, start VirtualBox. Click the New button.
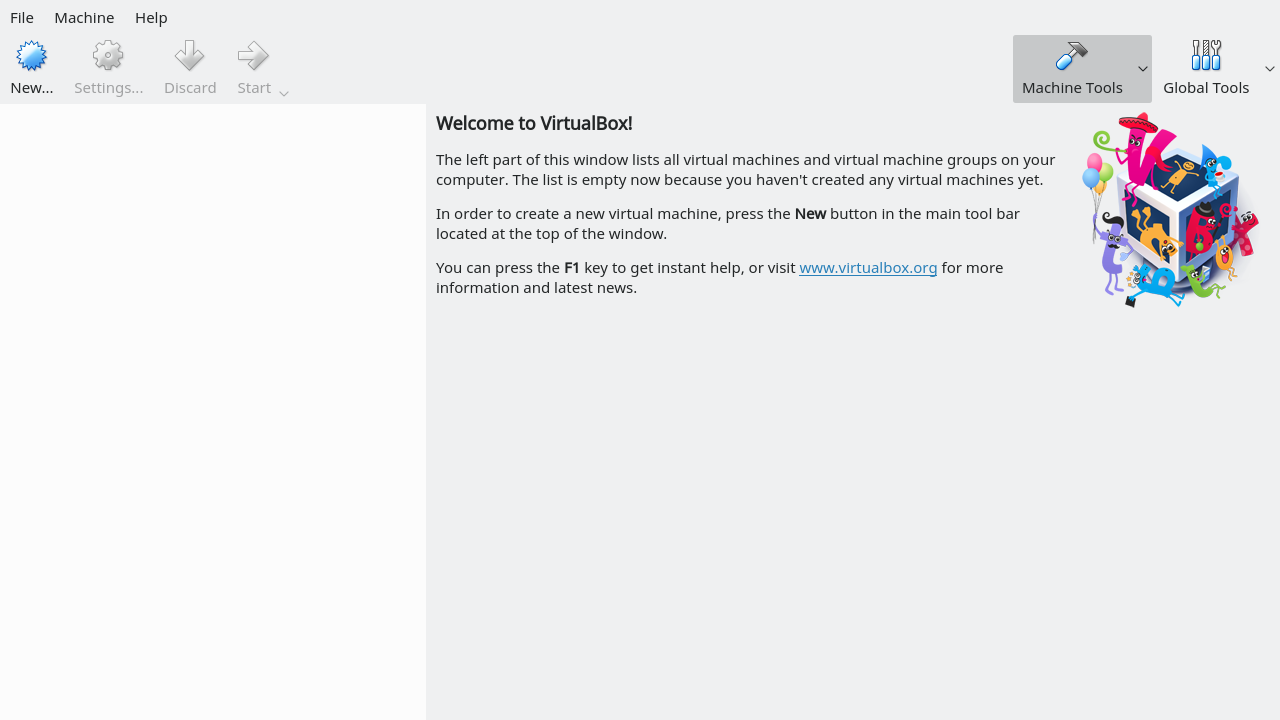
Fig. 17.2.1 VirtualBox Screen Menu
Enter a name for the virtual machine. Click the Type drop-down menu and select BSD. Select FreeBSD (64-bit) from the Version drop-down. Click Next.
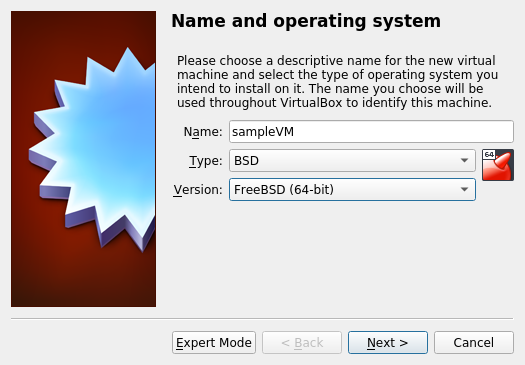
Fig. 17.2.2 New Virtual Machine Name and Operating System
Change the base memory size to at least 4 GiB or 4096 MiB (see System Requirements). Click Next.
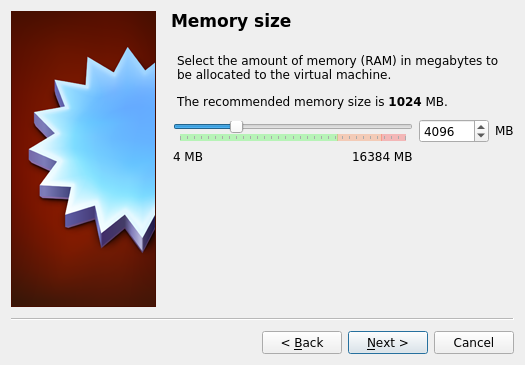
Fig. 17.2.3 Virtual Machine Reserved Memory
Click Create.
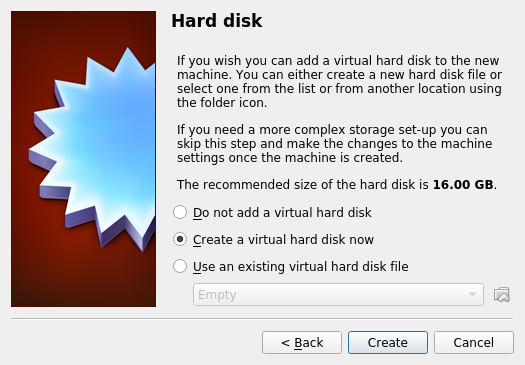
Fig. 17.2.4 Virtual Machine Hard Disk
Select VDI and click Next.
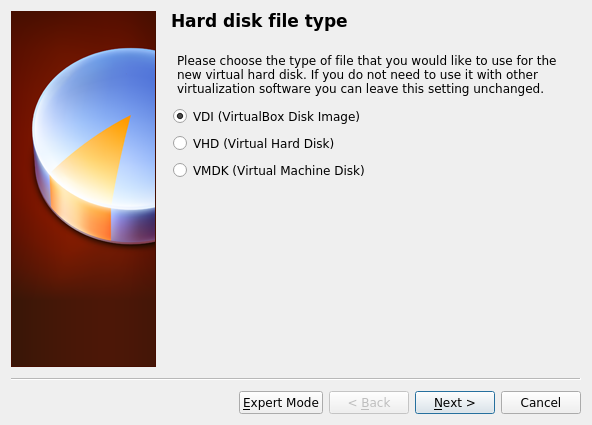
Fig. 17.2.5 New Virtual Hard Disk Type
Select Dynamically allocated. Click Next.
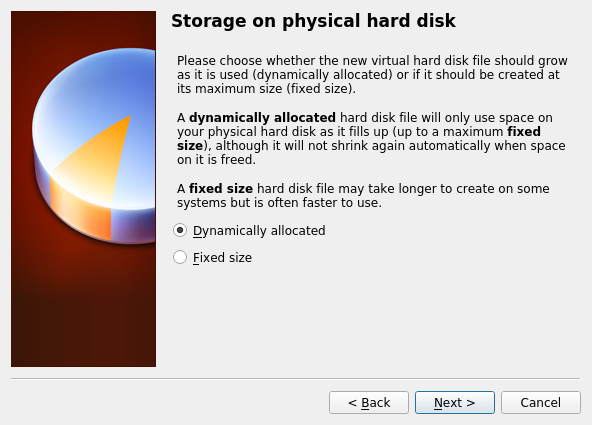
Fig. 17.2.6 Virtual Disk Storage Type
Set the size of the Virtual Disk. Set the Virtual Disk size to at least 80 GiB (see System Requirements. Click Create to create the new VM.
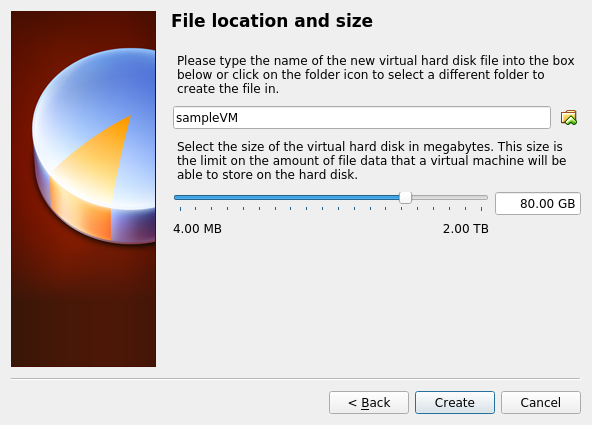
Fig. 17.2.7 Virtual Disk Location and Size
Highlight the VM and click Settings to create a device for the installation media.
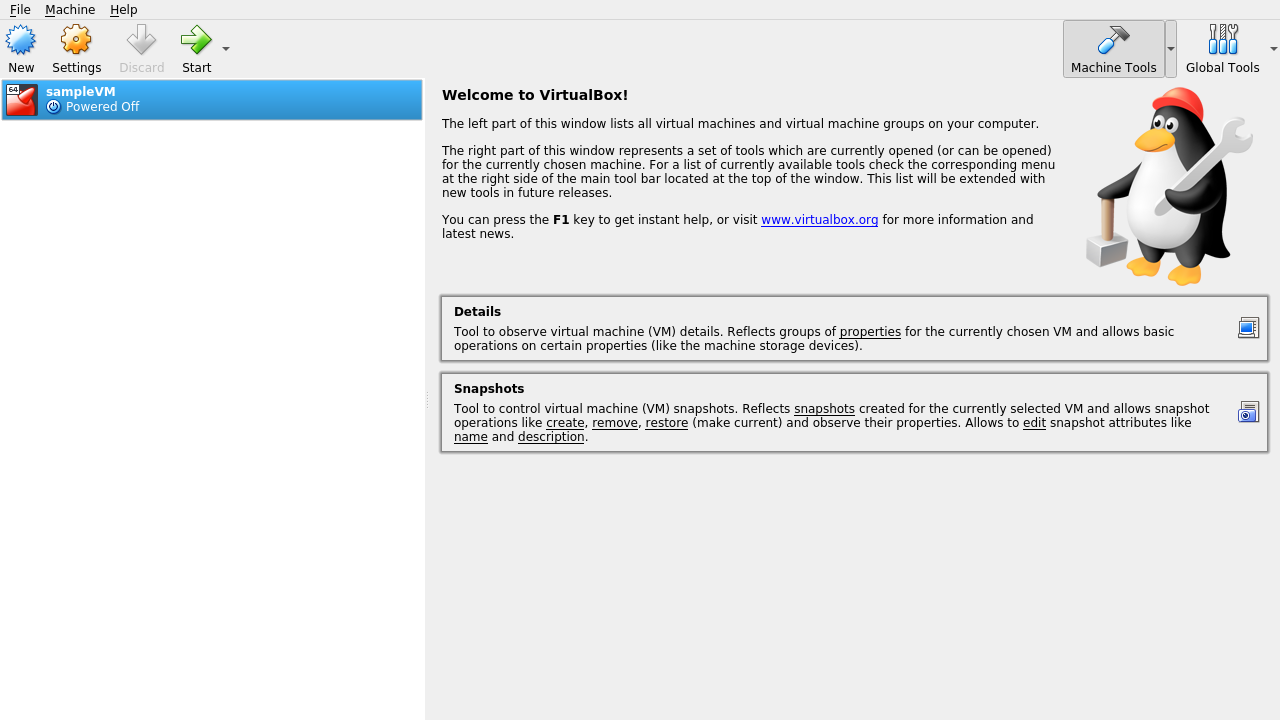
Fig. 17.2.8 New Virtual Machine
Click Storage in the left column to show storage options.
Select Empty from the Storage Devices frame and click
the CD icon in the Attributes frame. Click
Choose Virtual Optical Disk File to browse to the location
of the TrueCommand™ .iso file.
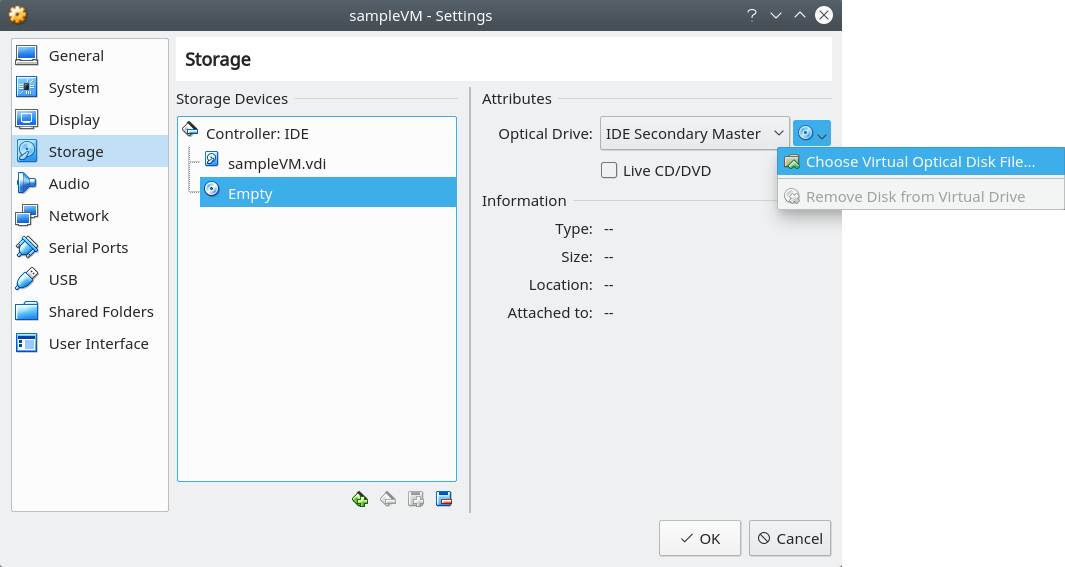
Fig. 17.2.9 Adding the ISO Installation Media
Configure the network adapter by opening the VM settings and clicking Network. Select Bridged Adapter in the Attached To drop-down menu. Choose the name of the physical interface from the Name drop-down menu. Click Ok to save the new settings.
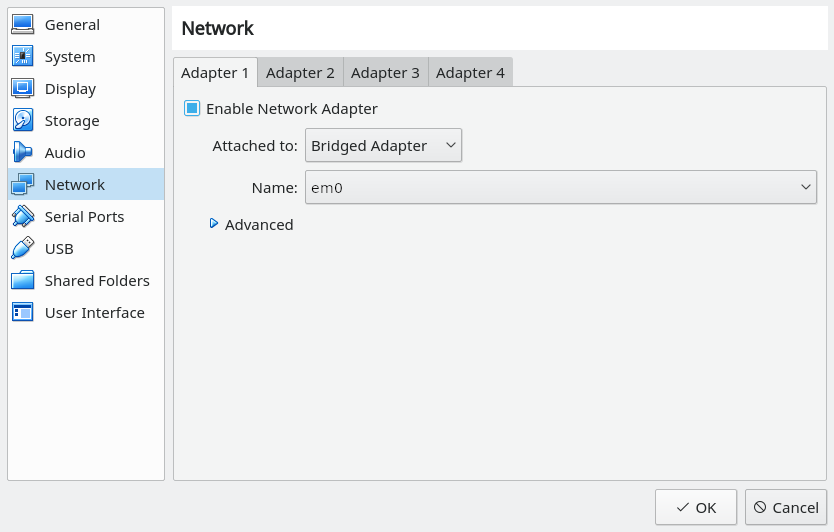
Fig. 17.2.10 Configuring a Bridged Adapter
Click Start to power on the VM and begin the TrueCommand™ installation.
After the installation is complete, shut down the VM. Remove the installation media by right-clicking the IDE icon and selecting Remove Disk from Virtual Drive.
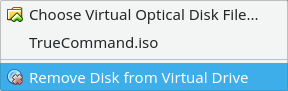
Fig. 17.2.11 Remove Installation Media
17.2.2. VMware ESXi
ESXi is a bare-metal hypervisor architecture created by VMware Inc. Commercial and free versions of the VMware vSphere Hypervisor operating system (ESXi) are available from the VMware website.
When the VMware vSphere client is installed, use it to connect to the
ESXi server. Enter the username and password created when installing
ESXi to log into the interface. After logging in, go to Storage to
upload the TrueCommand™ .iso.
Click Datastore browser and select a datastore for the
TrueCommand™ .iso. Click Upload. Use the
file dialog to choose the TrueCommand™ .iso from the host system.
Click Create / Register VM to create a new VM. The New virtual machine wizard opens:
Select creation type: Select
Create a new virtual machineand click Next.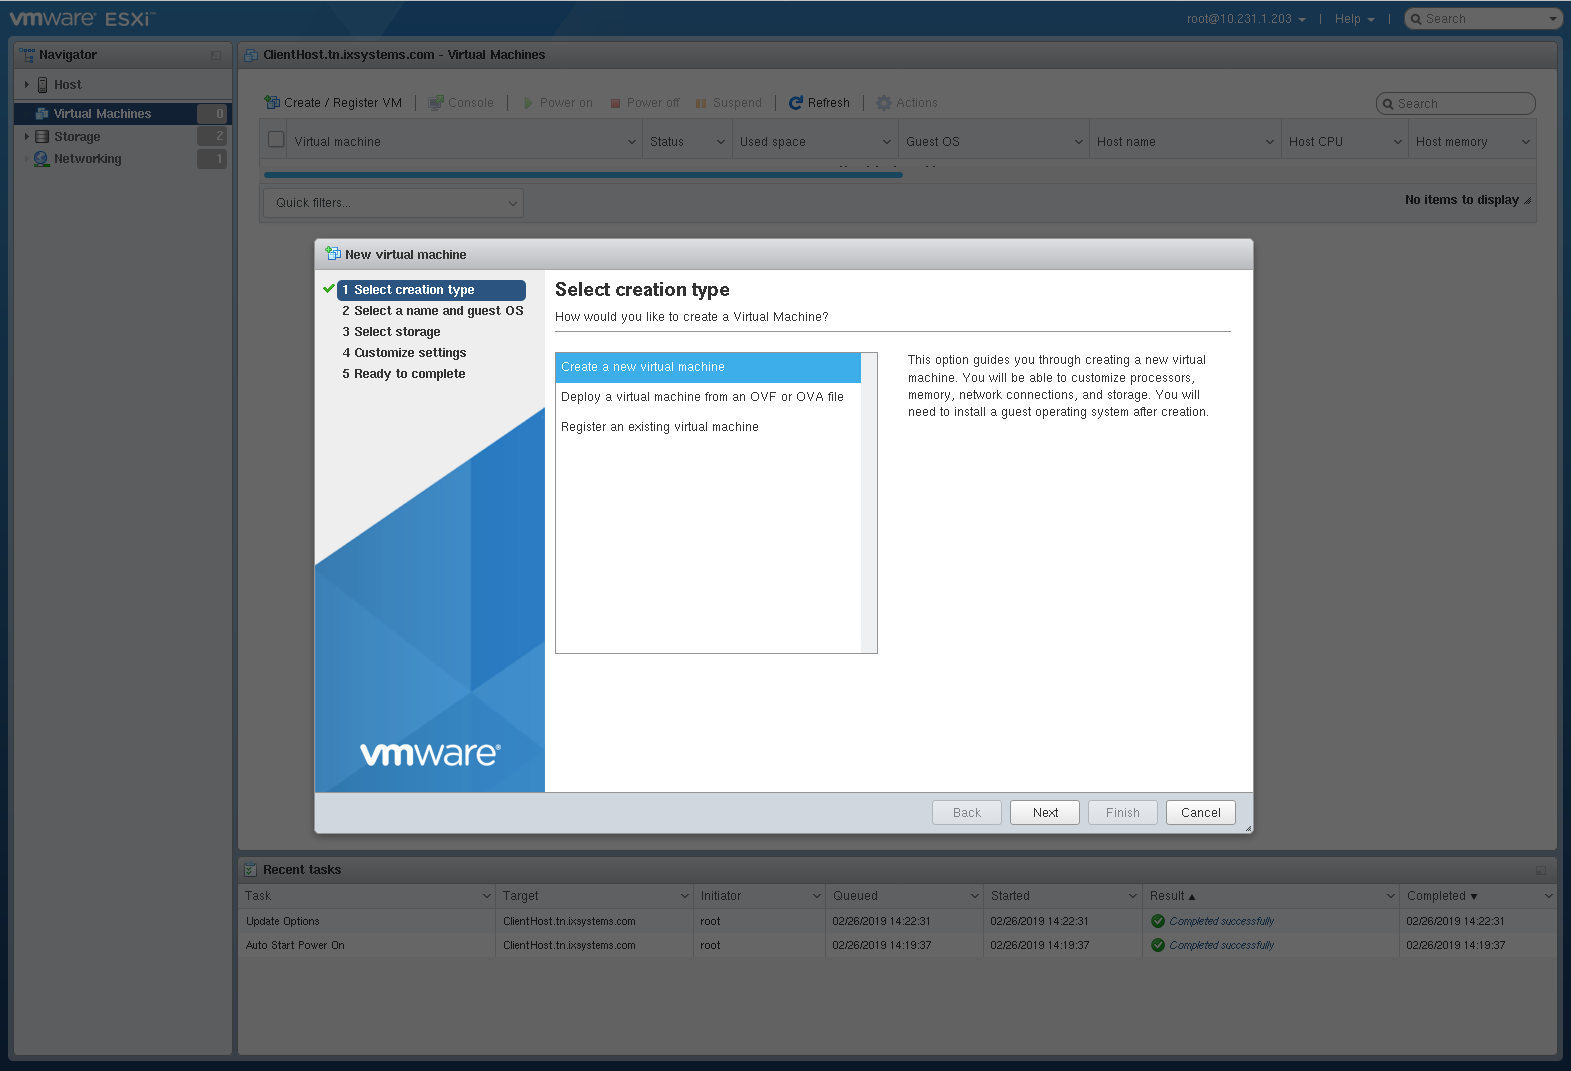
Select a name and guest OS: Enter a name for the VM. Leave ESXi compatibility version at the default. Select
Otheras the Guest OS family. SelectFreeBSD12 or later versions (64-bit)as the Guest OS version. Click Next.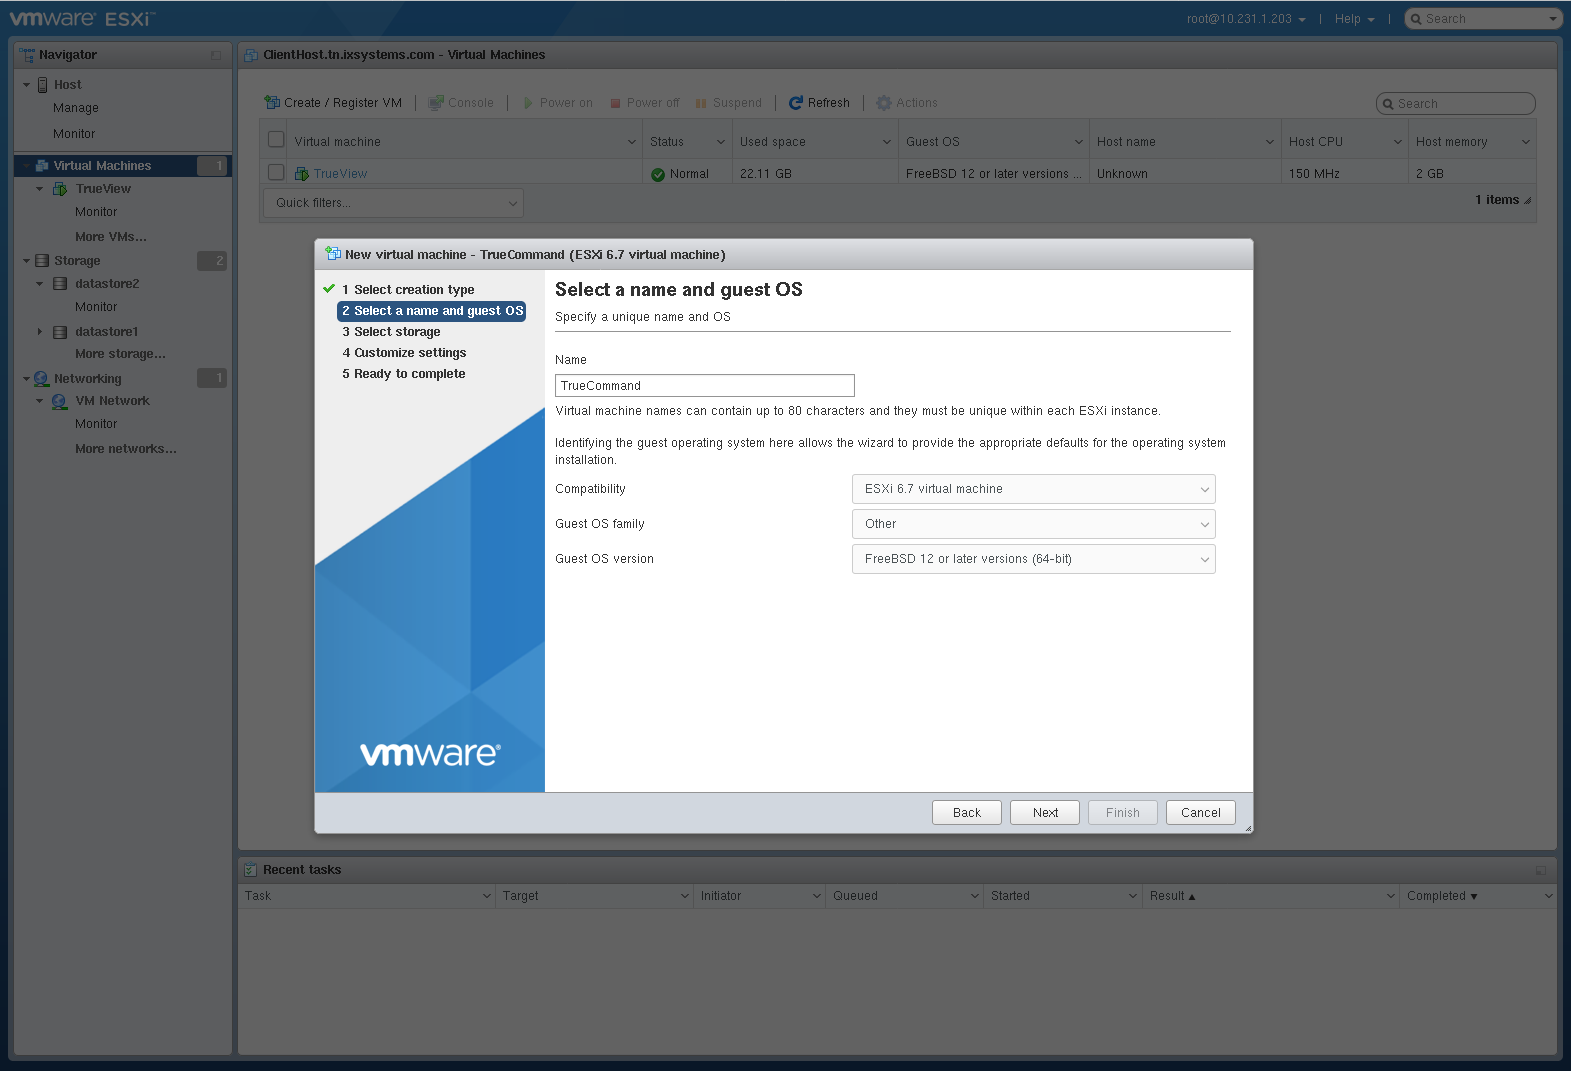
Select storage: Select a datastore for the VM. The datastore must be at least 80 GiB (see System Requirements).

Customize settings: Enter at least 4 GiB or 4096 MiB of memory and at least 80 GiB of virtual storage (see System Requirements). Select
Datastore ISO filefrom the CD/DVD Drive 1 drop-down. Use the Datastore browser to select the uploaded TrueCommand™.iso. Click Next.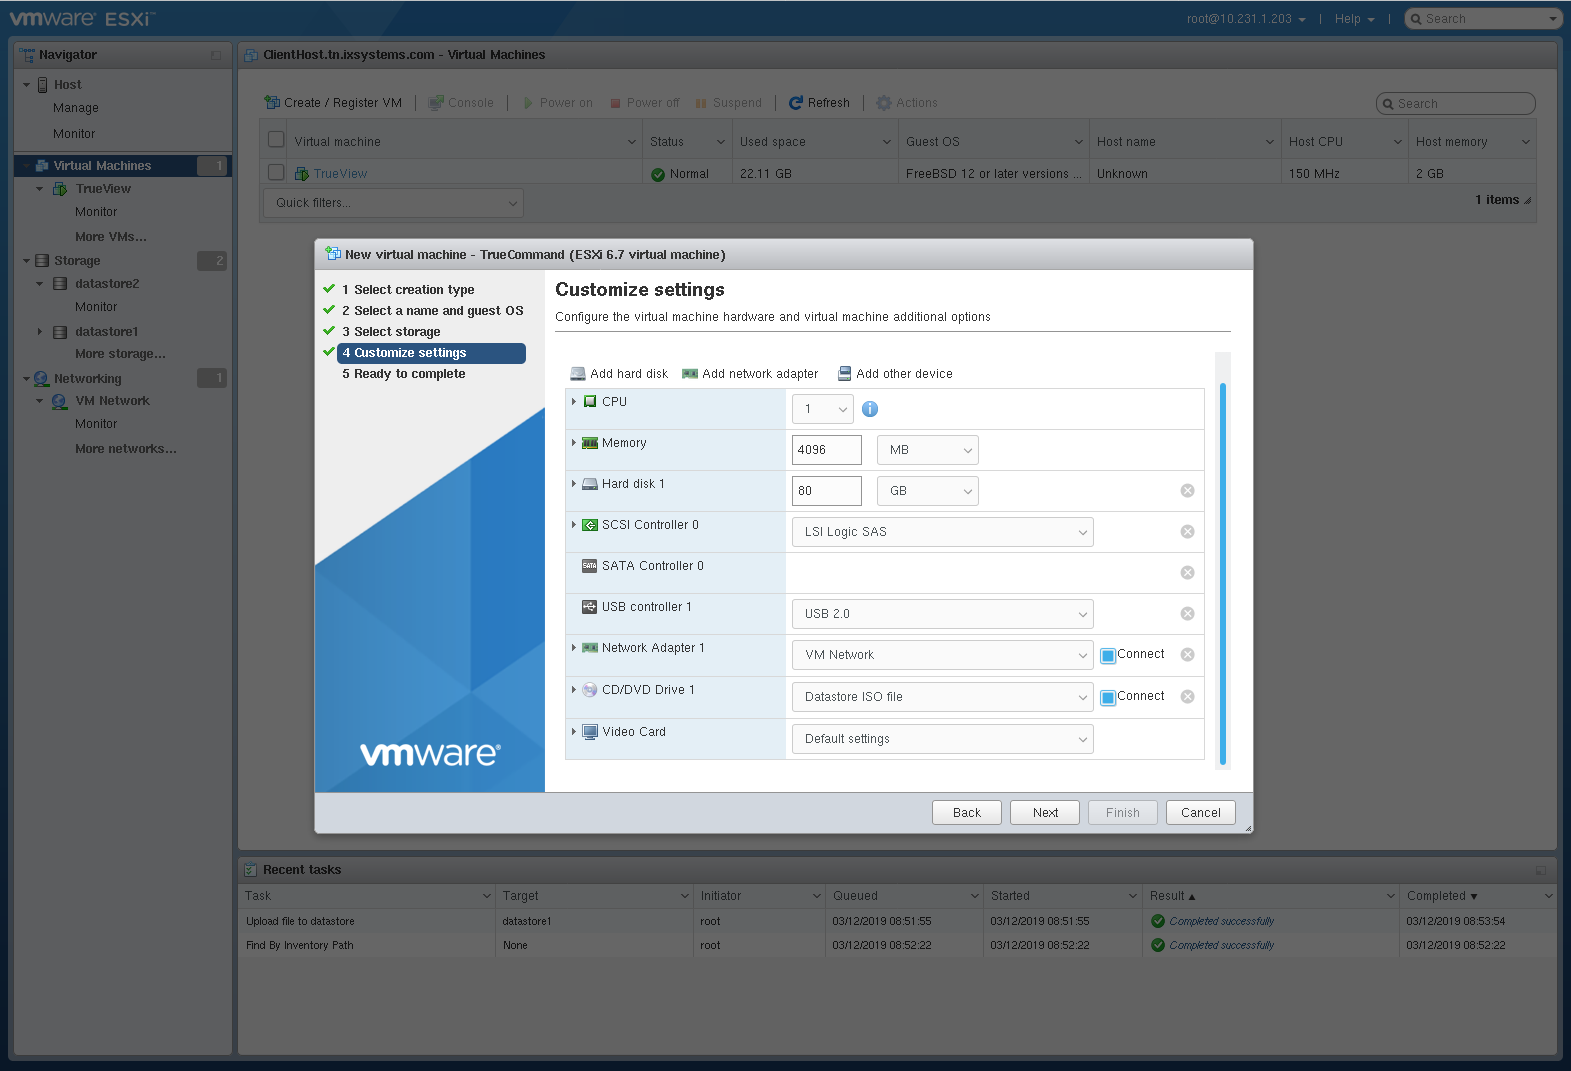
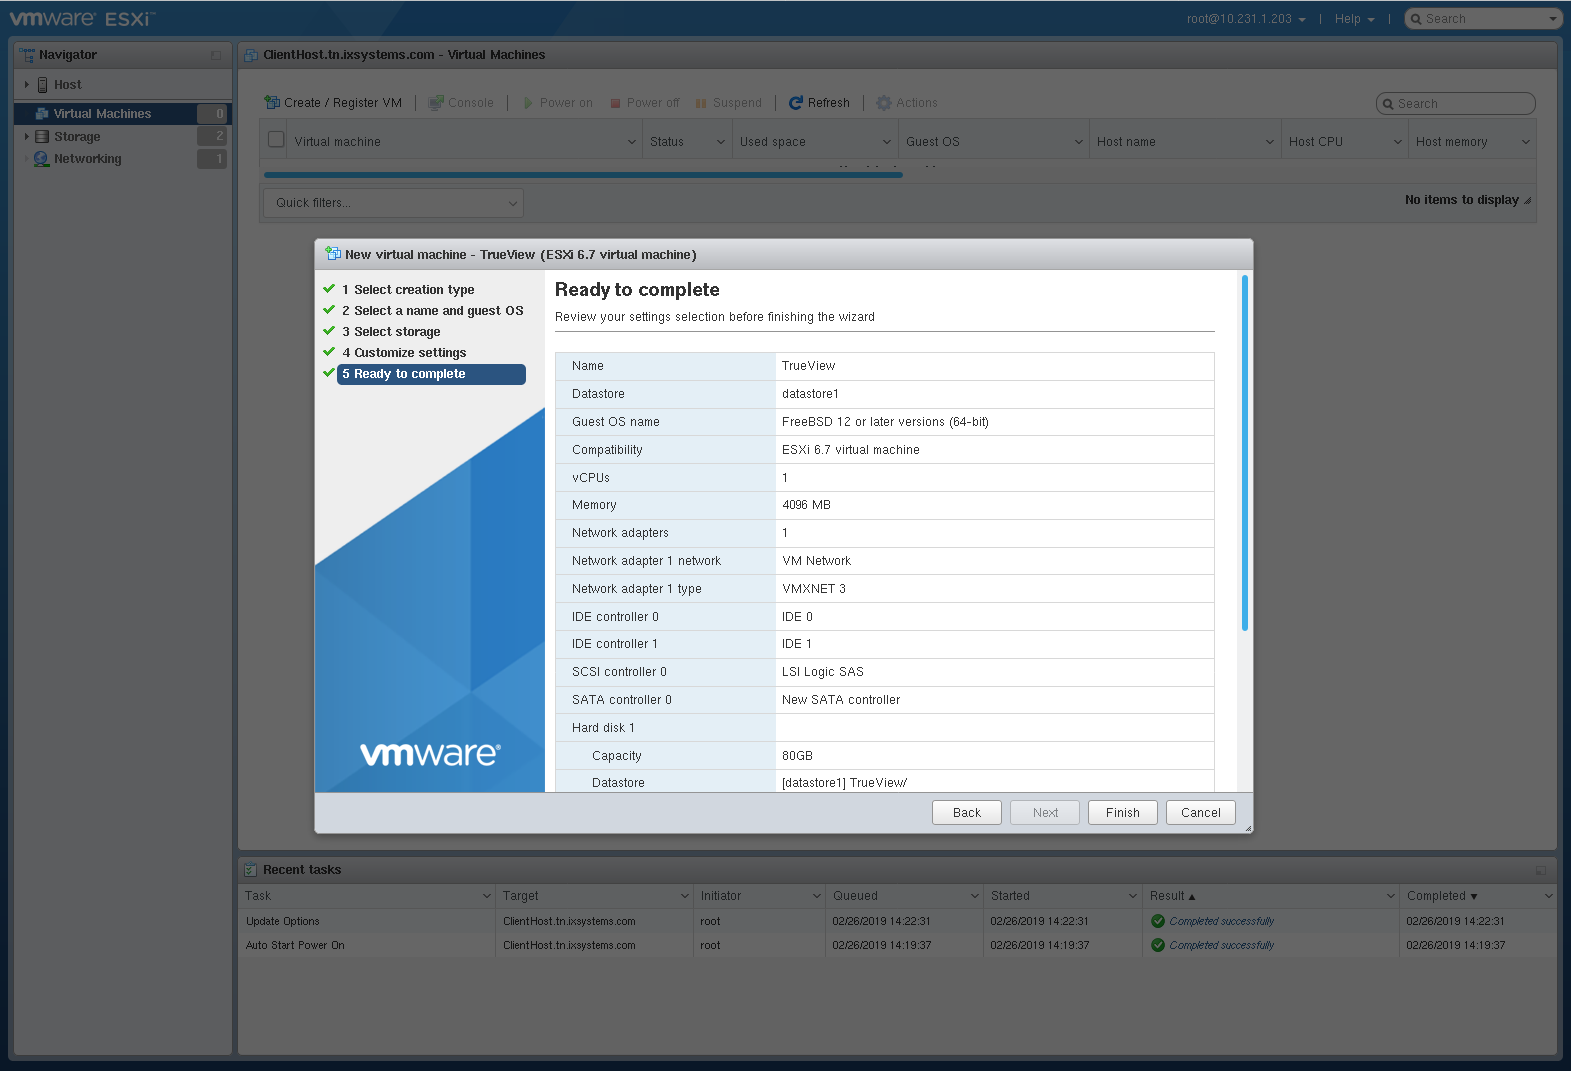
Ready to complete: Review the VM settings. Click Finish to create the new VM.
Click , where VM is the TrueCommand VM name. Click Power on to start the VM. Click and install TrueCommand™.
17.3. Installing TrueCommand™
The TrueCommand™ installer boot menu appears first. After a short pause, it automatically continues. To boot with one of the options, type the number of the option.

Fig. 17.3.1 Installer Boot Menu
Press Enter to select the default option,
Install.
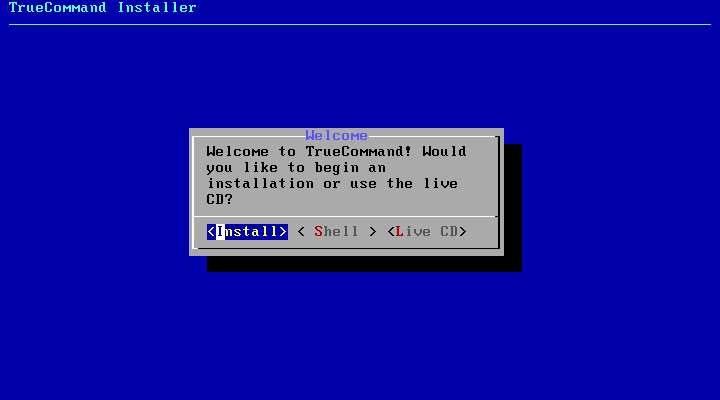
Fig. 17.3.2 Installer Options
Available disks are shown. Use the arrow keys to choose the target
disk. Press Spacebar to select the desired disk. Press
Enter to continue.
Press Enter to reserve the entire disk for TrueCommand™.
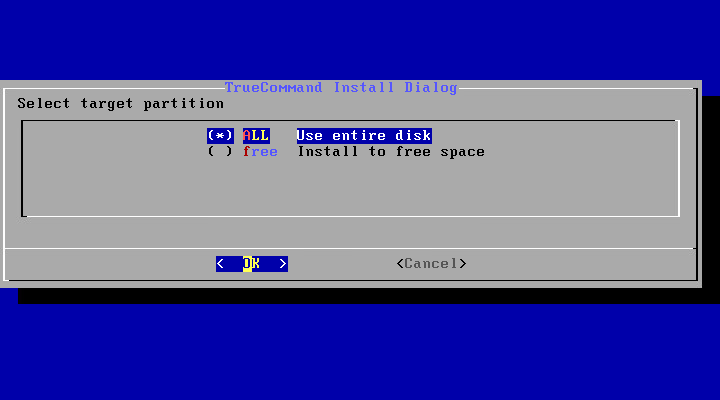
Fig. 17.3.3 Select Target Partition
Use the arrow keys to select GPT. MBR should only be used on legacy
clients that cannot use GPT. Press Enter.
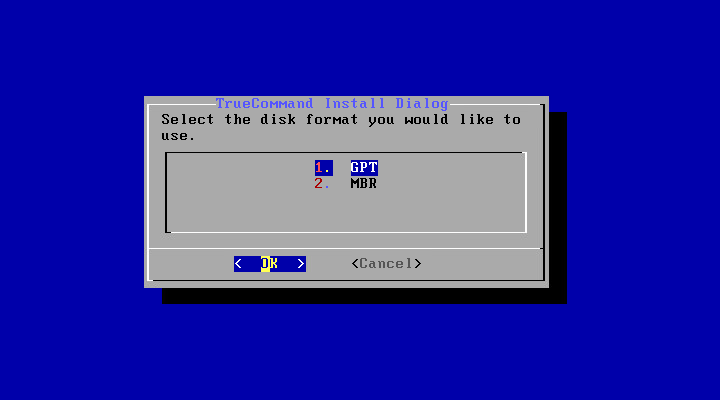
Fig. 17.3.4 Select Disk Format
Set and confirm the root password. The root
user is for system maintenance and is not used to access the
TrueCommand™ web interface. TrueCommand™ accounts are created through
the web interface after installation.
Press Enter to continue.
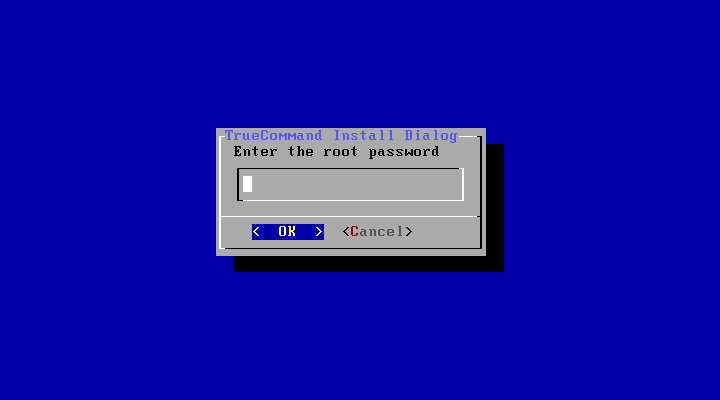
Fig. 17.3.5 Set root password
Enter TrueCommand as the system hostname and press
Enter.
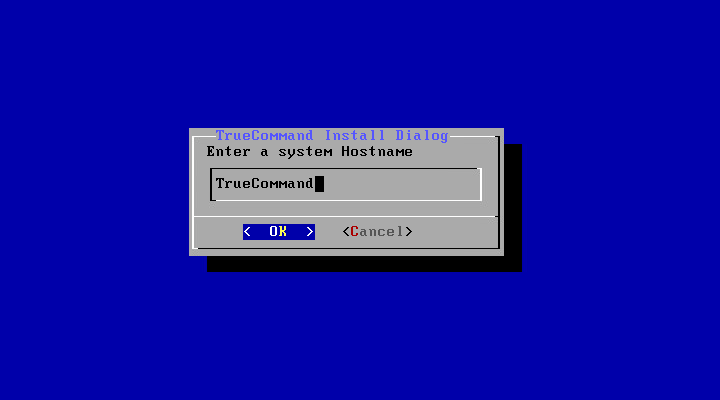
Fig. 17.3.6 Set Hostname
Press Enter to Enable networking.
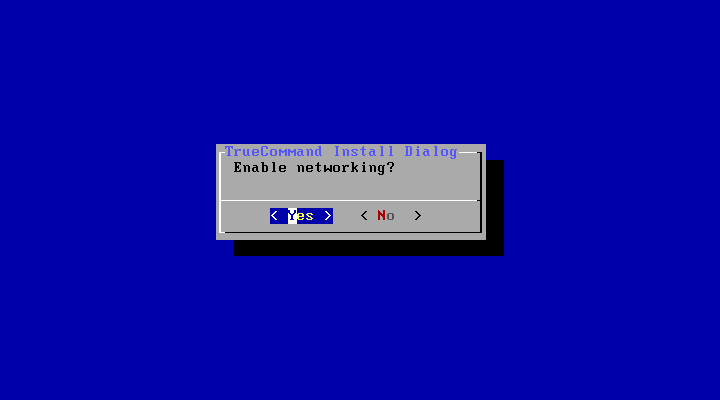
Fig. 17.3.7 Enable Networking
Use the arrow keys to select the network card. A static IP address is strongly recommended. DHCP can be used, but can result in the system unexpectedly moving to new IP address.
When using a static IP address, the IP address, gateway, and netmask are required. DNS is optional, but recommended for name resolution.
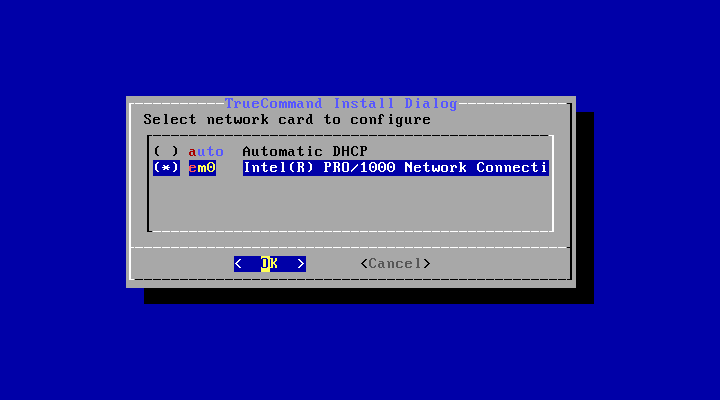
Fig. 17.3.8 Select Network Card
Press Enter to the Enable SSH. Enabling SSH is not required,
but recommended.
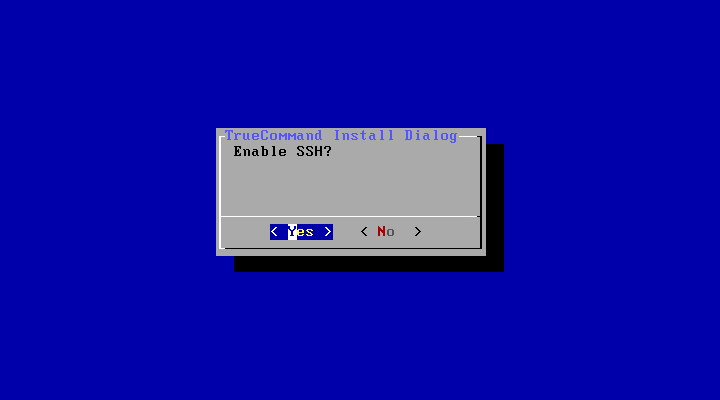
Fig. 17.3.9 Enable SSH
Select install and press Enter.

Fig. 17.3.10 Start the Installation
Wait for the Installation finished! message and press Enter.
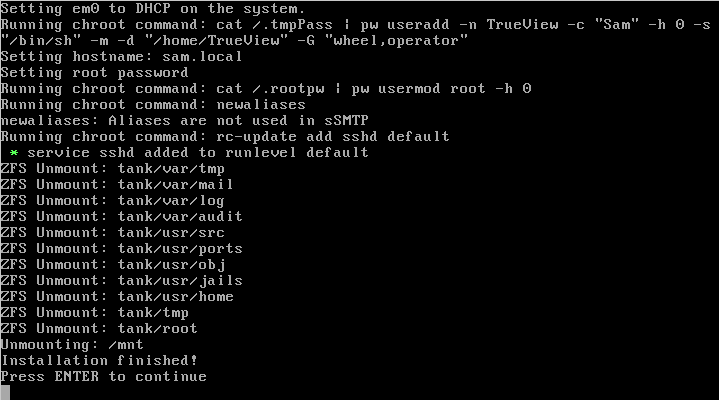
Fig. 17.3.11 Finish Installation
Use the down arrow to select quit. Press Enter.
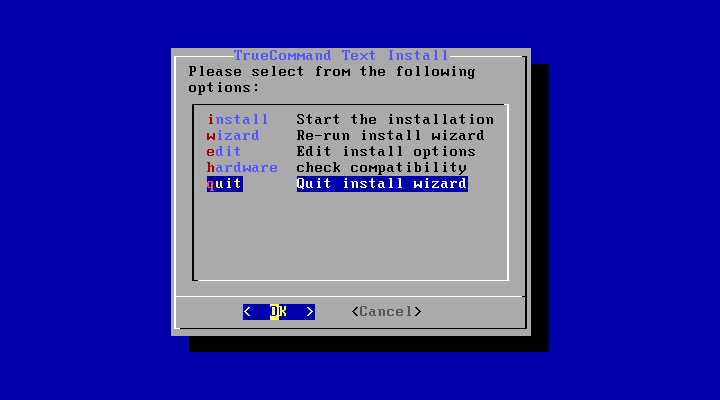
Fig. 17.3.12 Quit Install Wizard
Restart the TrueCommand™ system. Remove the TrueCommand™ install media so the system boots from the hard drive.