Let me show you step by step.
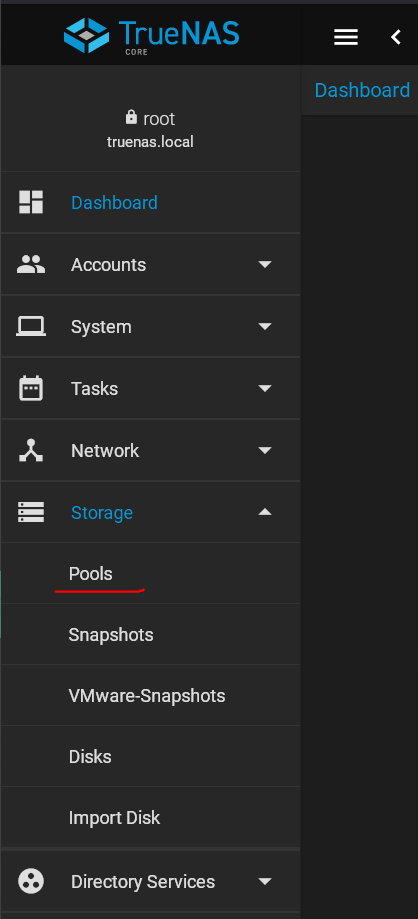
First thing is go to Storage -> Pools:
View attachment 71536
There you probably already made a pool.
Just in case I'll show you.
Click on "Add":
View attachment 71537
Then Create new pool:
View attachment 71538
Add the disks in the layout you want. For example if you have 6 HDDs then go for one VDEV in a raidz2 config.
In case of 4 disks just make to mirrored VDEVs.
My virutal machine only has one drive so I just add that:
View attachment 71540
And hit create.
Now we have a pool, but we need a dataset to actually use it:
View attachment 71541
Let's just keep the defaults except ShareType. This should be set to SMB as we plan to share it later:
View attachment 71542
Then hit submit.
Now we are up and running with the basics.
If you already did all of that: Good.
Now what we want do is make our dataset accessible via SMB.
To do that we go to Services -> SMB -> start:
View attachment 71544
Then go to Sharing ->Windows Shares (SMB) and click add:
View attachment 71545
Select the dataset you want to share via SMB. Default options should be fine as they are. Then hit Submit.
View attachment 71546
It will tell you that it will auto enable the SMB service. Click okay you should now see the SMB share up and running:
View attachment 71547
Now we need a user that actually has access to the SMB share. So we go to Accounts -> Users -> Add:
View attachment 71549
select a username, a secure password that you want to use as authentification for SMB and under Directories and Permissions we select what dataset we want to have access to. In My case I jsut chose My_Dataset as it is the only one available:
View attachment 71550
Then click submit.
Now go to windows explorer, then right click on ThisPC -> map a network drive:
View attachment 71551
Then choose a Drive Letter and enter the location.
Be aware that your truenas system is simply called truenas instead of truenascore.
I just changed that because it would conflict with my real truenas.
Also select "Connect using different credentials". Because the user we created in TrueNas is not your Windows User which windows will attempt to login by default.
View attachment 71552
After you flick finish Windows will as you to enter the credentials:
View attachment 71553
Do that , click OK et voila:
View attachment 71554
SMB up and running.
Now for the NextCloud part.
Go To Plugins -> NextCloud -> Install -> choose a name and click Save.
Nextcloud will install:
View attachment 71555
After the Installation it should show as "up".
Now we have two methods to share files with nextcloud.
The first is the easy solution. External storage "local".
For this we need to stop nextcloud again:
View attachment 71560
Then click on Mount Points:
Actions -> Add:
View attachment 71561
Choose the dataset to share (in my case My_Dataset) under source and "mnt/My_Dataset" under Destination as target (you have to enter the "/My_Dataset" manually:
View attachment 71569
This way it will mount under nextcloud. Hit submit.
Go back to Jails -> Nextcloud -> Start.
Wait for it to start up and copy the address for the admin portal:
View attachment 71557
and login with the credentials you find under "Post Install Notes":
View attachment 71558
View attachment 71559
Now click on the "N" on the top right and choose Apps:
View attachment 71564
Scroll down until you find "External Storage support". Enable it:
View attachment 71565
Now go to Administration settings:
View attachment 71566
and choose External storage (under the Administration section. Not under Personal!):
View attachment 71568
Here we enter the Folder Name that NextCloud should display to the users. E.g. TrueNAS_Storage or just the name of the dataset (which I used)
Then the Storage Method "Local" and the path to the storage "/mnt/My_Dataset" which we defined in the Mount Points. You can also select which NextCloud users may access the folder:
View attachment 71570
Click on the Check arrow on the right and the entry should be marked green on the left side. This means everything works and NextCloud can access the dataset/folder.
Now you can access the files stored under My_Dataset via SMB from your windows PC and also from within nextcloud.
Second Method is SMB. Which is a bit trickier under TrueNAS Core.
First thing you would need to do is install the SMBclient in the NextCloud Jail via the serial console and I would have to loock up how to do that.
This might also come with a few caveats like additional system overhead.
Edit:
tried to install smbclient. Blew my NextCloud Install. Now nginx isn't starting anymore :D
Perhaps someone else can explain how to start SMB service under NextCloud Jail on Core.
If you get SMB working then the only difference is how you set up external storage.
Instead of choosing local you choose SMB/CIFS.
Enter the credentials of a user who has access to the share (e.g. the user we defined at the start)
Enter TRUENAS for Host
My_Dataset for Share
and any specific subfolder or subdataset if you want to restrict access to that.
View attachment 71571
It's quite late and there might be errors or practices which should be avoided.
If any of the more experienced users could point these out that'd be great :)